How to install flanged Samyang lens and DSLR to the DFNEXT enclosure
see also: removing the outer blower ducting(not required for new cameras)
Contents
Tools
- 7mm spanner
Enclosure Preparation
The camera and lens are packed separately to the DFNEXT enclosure.
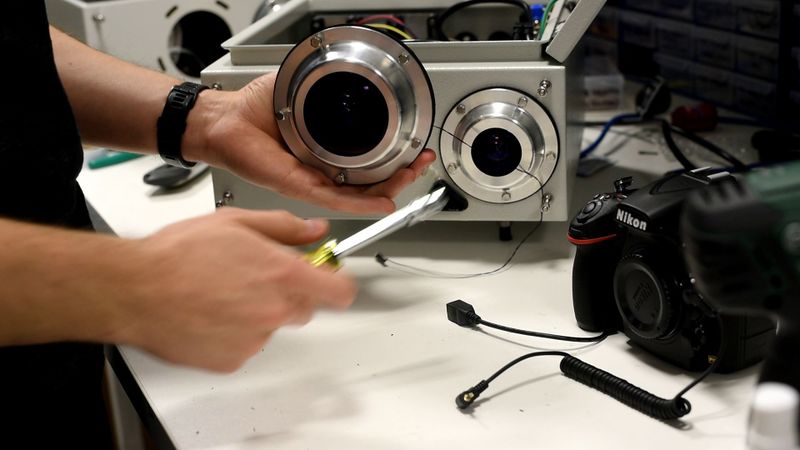
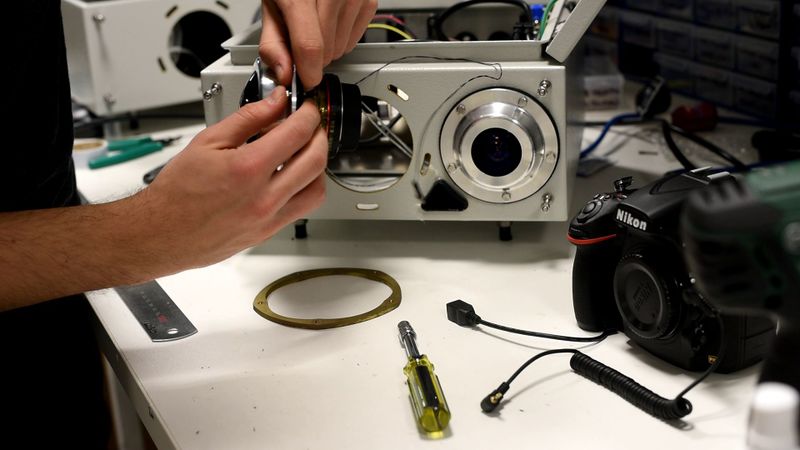
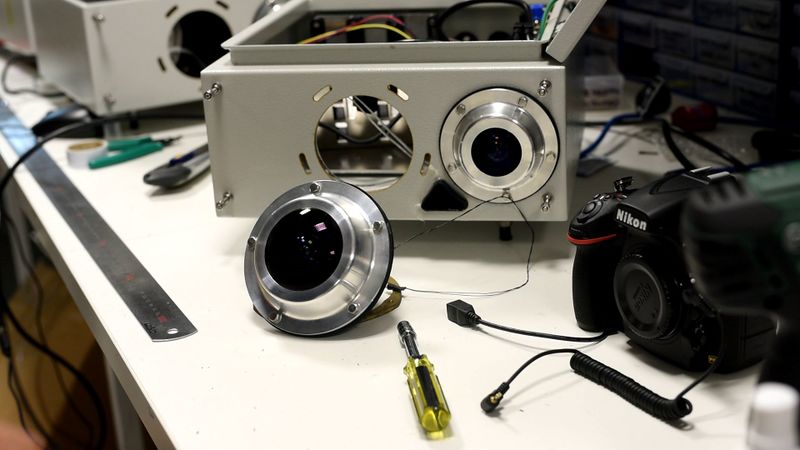
The lens is shipped with a rubber gasket and a brass flange attached to the aluminium flange that holds the lens. The rubber gasket and brass flanges are attached to the lens through 5x M4 bolts.
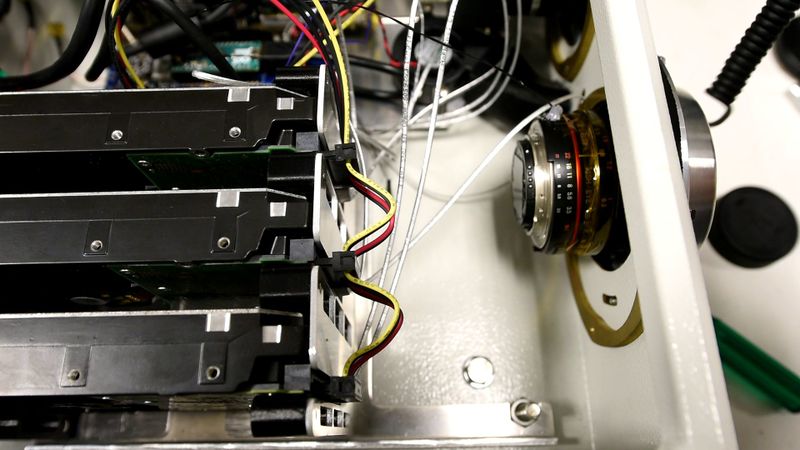
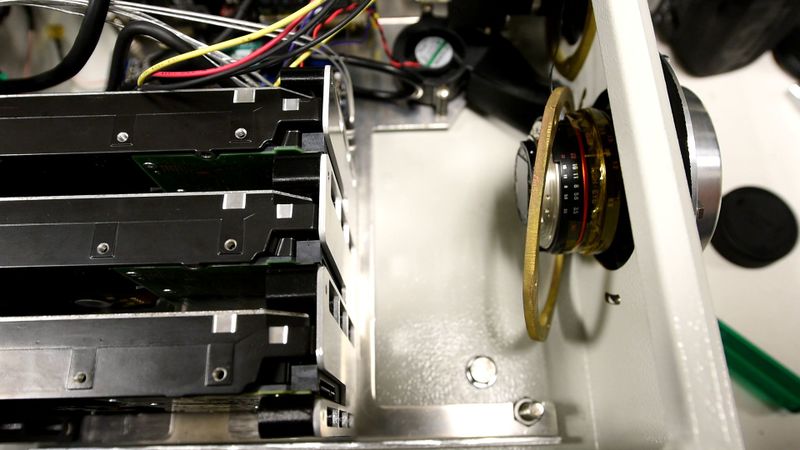
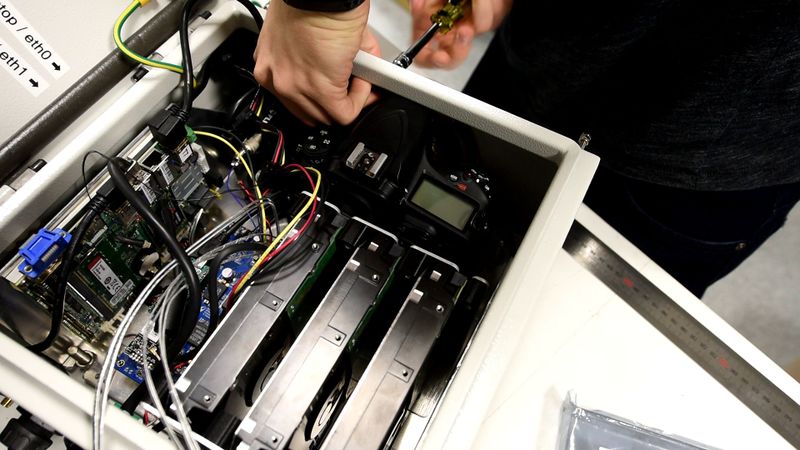
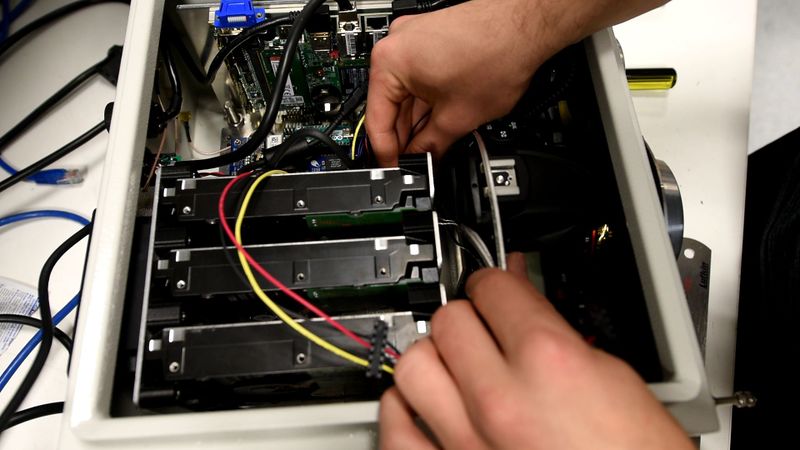
To attach the lens to the enclosure, first detach the power cables feeding power to the Hard Drives. Then, lift each hard drive individually and carefully detach the SATA cables connected to the Hard Drive. Feed the SATA and power cables to the side of the enclosure opposite to the lenses. This gets them out of the way of the lens and camera that will be installed shortly.
Preparing and installing the lens
Lens preparation
First undo the bolts enough to remove the brass ring from the rubber gasket and aluminium flange.
Place all bolts back into the aluminium flange as far as possible through the rubber gasket.
Install Procedure
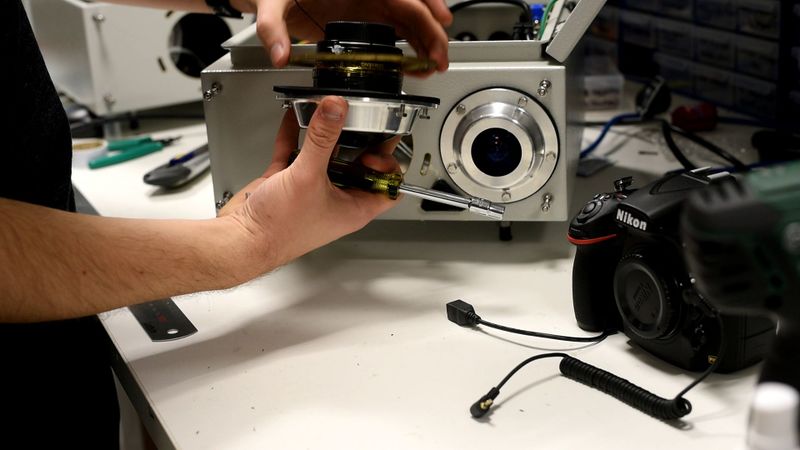
Feed the LC shutter cable through the lens opening in the enclosure and through the brass ring. Insert the lens and align bolts with bolt slots on the enclosure ensuring that the LC shutter points towards the computer and the white line points straight up.
Place brass ring on the inside of the box and roughly align it with the bolts.
The following step requires the camera and lens cap to be removed. Insert the camera in the enclosure being careful not to damage the LC shutter exposed at the base of the lens.
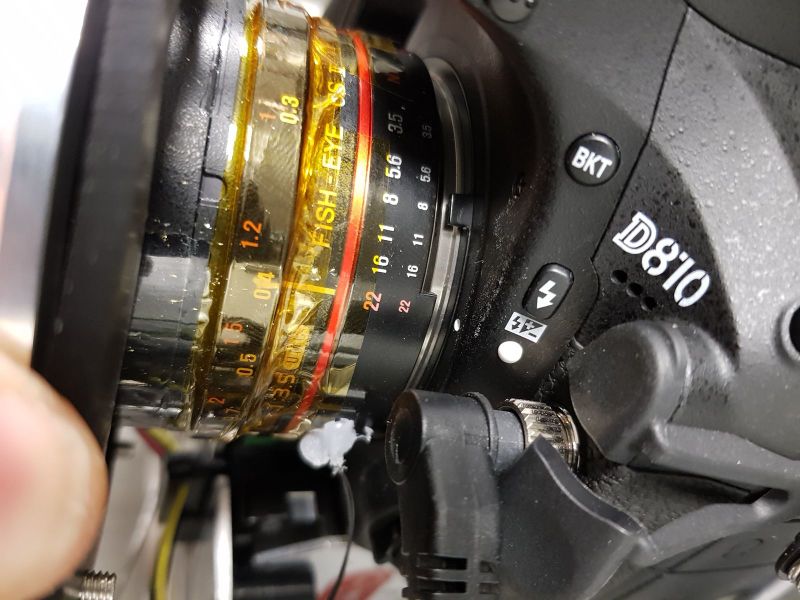
To attach the lens to the camera body, align the lens and the camera. Twist the lens clockwise about 40 degrees, aligning the line on the lens with the dot on the camera body.
Bring the lens and camera body together and, holding the lens by the flange, twist the lens anti clockwise. When the alignment mark on the lens points up again, a significant clicking noise should be observed and the lens and camera are now attached.
Once the lens is attached to the camera body, align the brass ring with one of the bolts and tighten the bolt until it just grips the brass ring. you might need to clamp the brass ring and camera lens with your hand to ensure the bolts grip to the brass ring.
Once all bolts are gripping the brass ring you can tighten the flange to the enclosure fully.
Additional cables
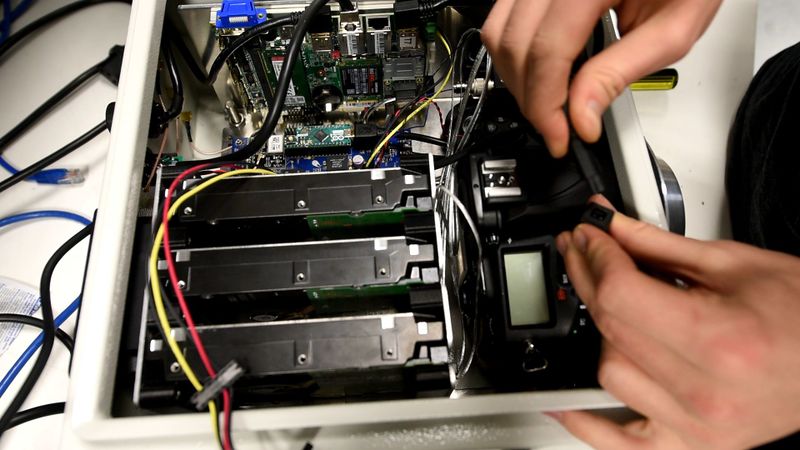
Insert the LC shutter wires in the appropriate connector.
Attach the camera battery connector to the appropriate cable
Connect USB cable to the DSLR camera.
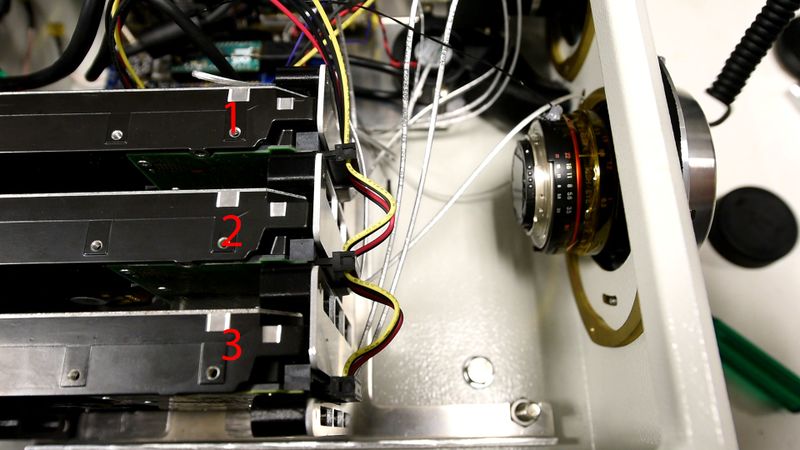
Reattach SATA connectors to the hard drives by raising each Hard drive individually. The (silver) SATA data cables are labeled from 1 to 3. Attach the hard drives as illustrated in the image below. Attach Hard Drive power cables to the hard drives.
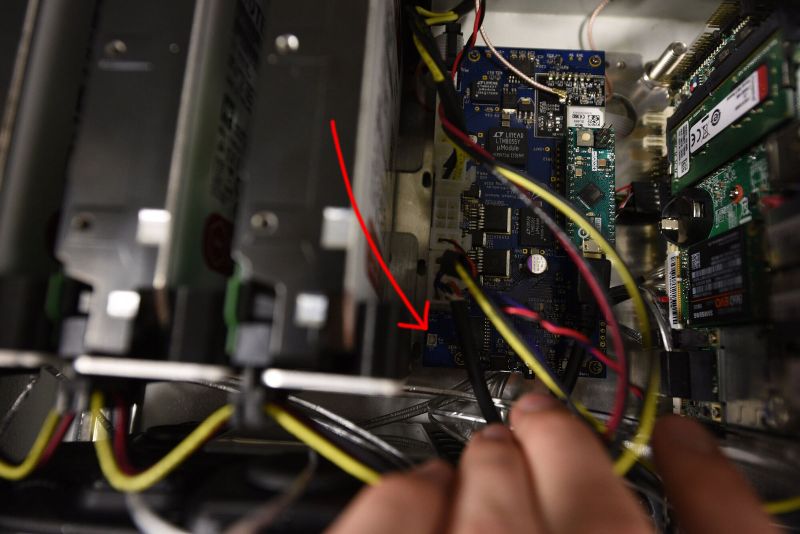
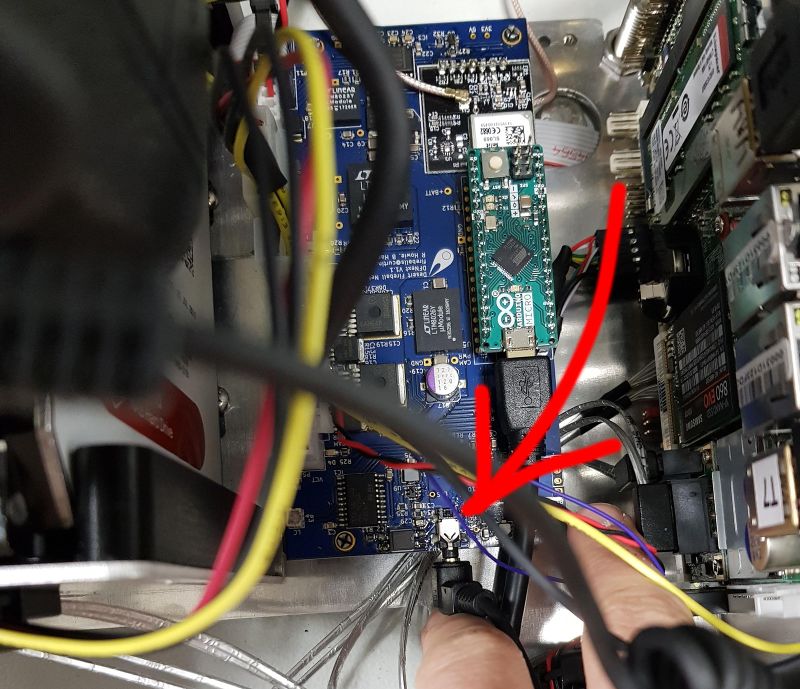
Attach camera shutter cable to the PCB.
Now for a newly arrived camera system, configure and test the whole system in the lab. The more preparation you do in advance, the less stress there will be during the fieldwork. If you plan to transport the instrument to the final site, and it is not sure what the roads quality will be, we recommend removing the DSLR from the enclosure for transport. For the same reason, we ship them in the same cardboard box, but separately. When on the final deployment site, do not forget to fit the outer blower ducting!
