Difference between revisions of "AC Power Supply"
Robert Howie (talk | contribs) (→Mathias Research Ranch Installation in Alberta, Canada) |
Robert Howie (talk | contribs) |
||
| (5 intermediate revisions by the same user not shown) | |||
| Line 178: | Line 178: | ||
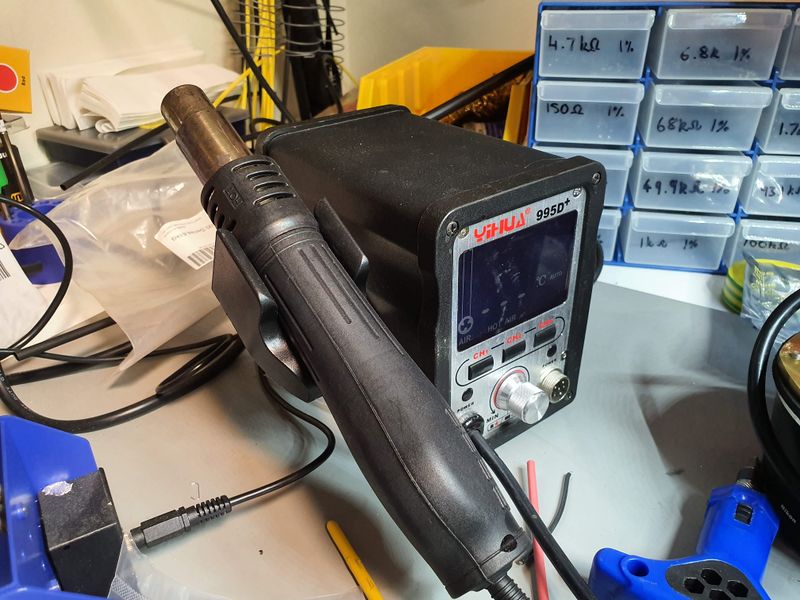
[[File:20190918 123427.jpg|none|thumb|800x800px|We will now use a hot air station to shrink the heatshink tubing. You can use a hot air gun or a lighter instead.]] | [[File:20190918 123427.jpg|none|thumb|800x800px|We will now use a hot air station to shrink the heatshink tubing. You can use a hot air gun or a lighter instead.]] | ||
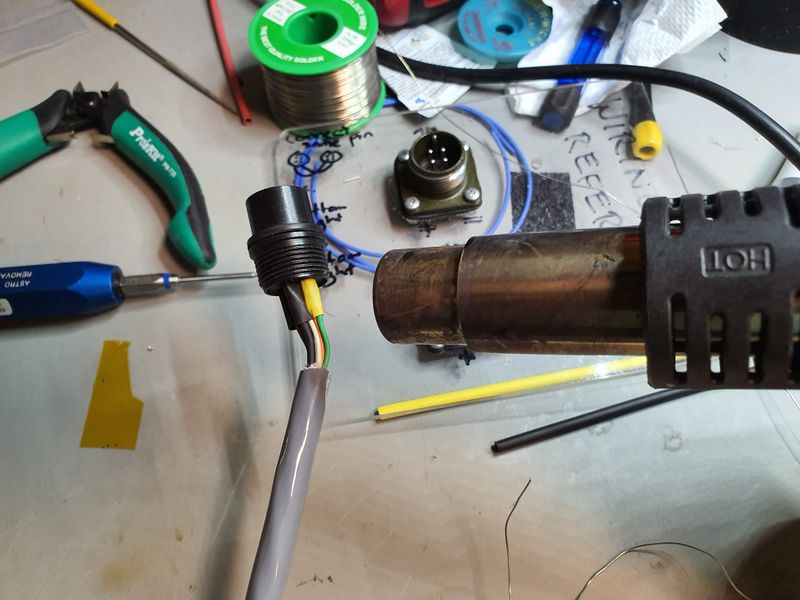
[[File:20190918 123442.jpg|none|thumb|800x800px|Shrink the tubing with hot air. Take care not to melt the insulation.]] | [[File:20190918 123442.jpg|none|thumb|800x800px|Shrink the tubing with hot air. Take care not to melt the insulation.]] | ||
| + | |||
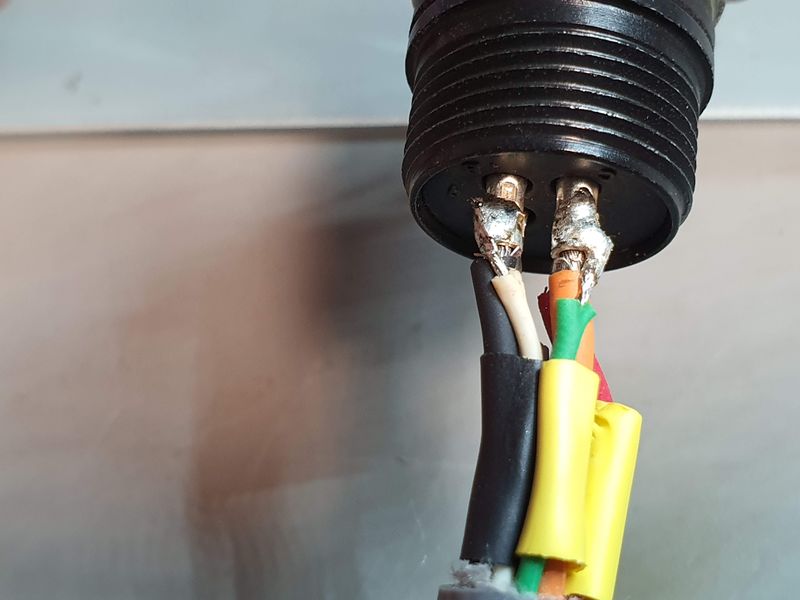
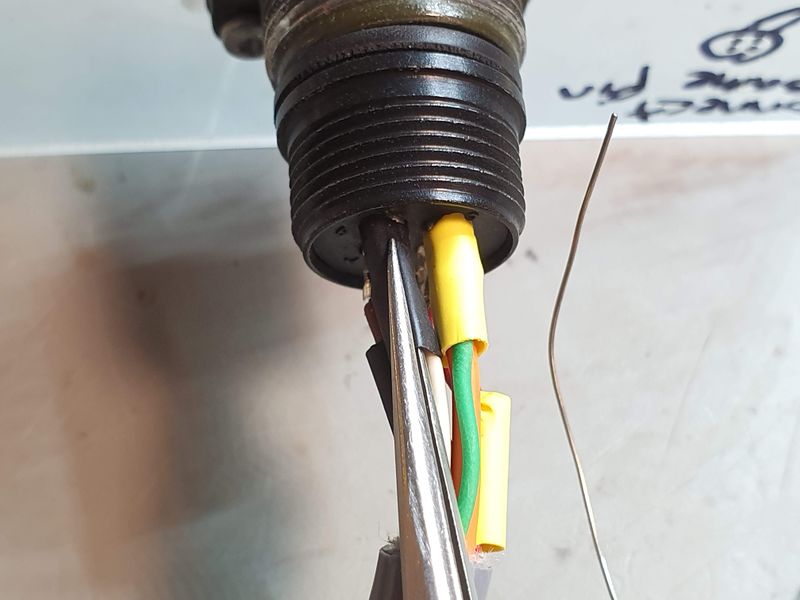
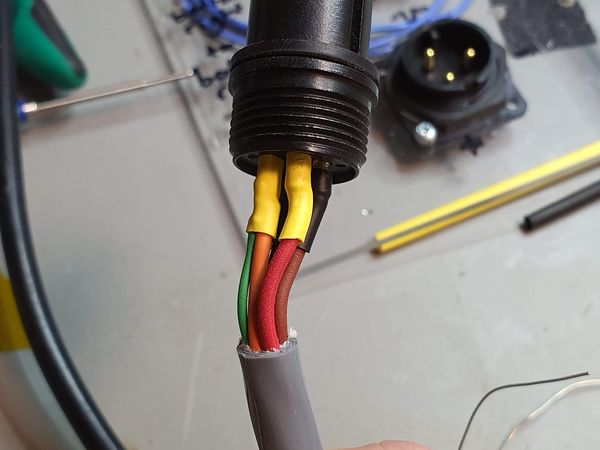
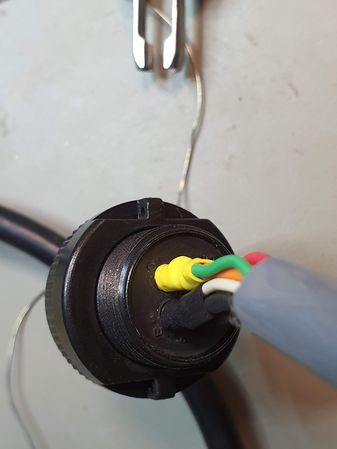
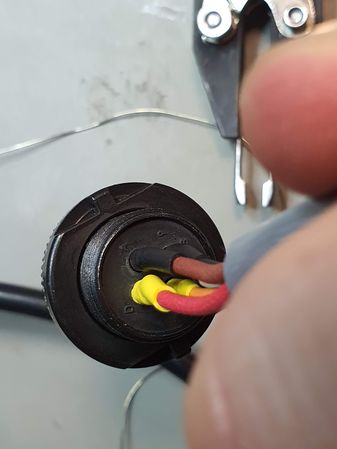
Your connector should now look like this: | Your connector should now look like this: | ||
| − | + | <gallery mode="packed" heights="300"> | |
| − | |||
| − | <gallery mode="packed" heights=" | ||
File:20190918_123513.jpg| | File:20190918_123513.jpg| | ||
File:20190918_123550.jpg| | File:20190918_123550.jpg| | ||
File:20190918_123612.jpg| | File:20190918_123612.jpg| | ||
</gallery> | </gallery> | ||
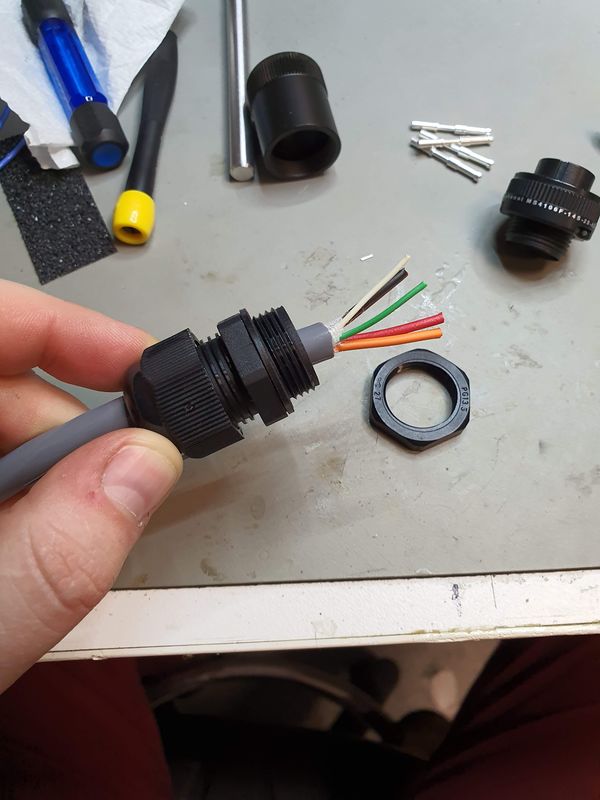
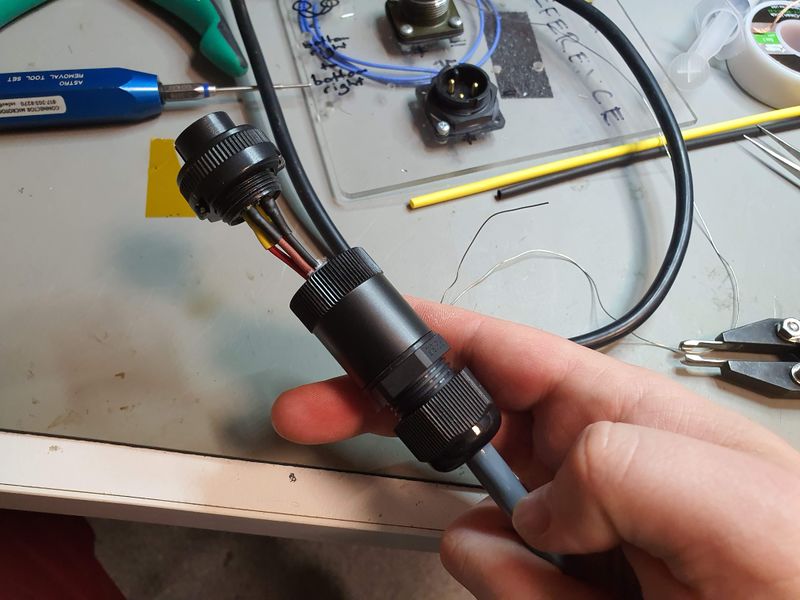
| + | [[File:20190918 123625.jpg|none|thumb|800x800px|Slide up the adaptor and cable gland.]] | ||
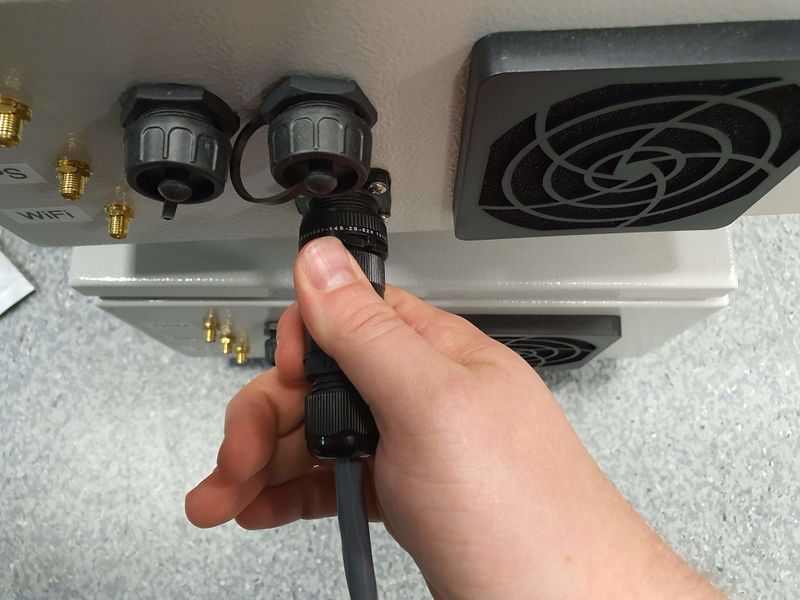
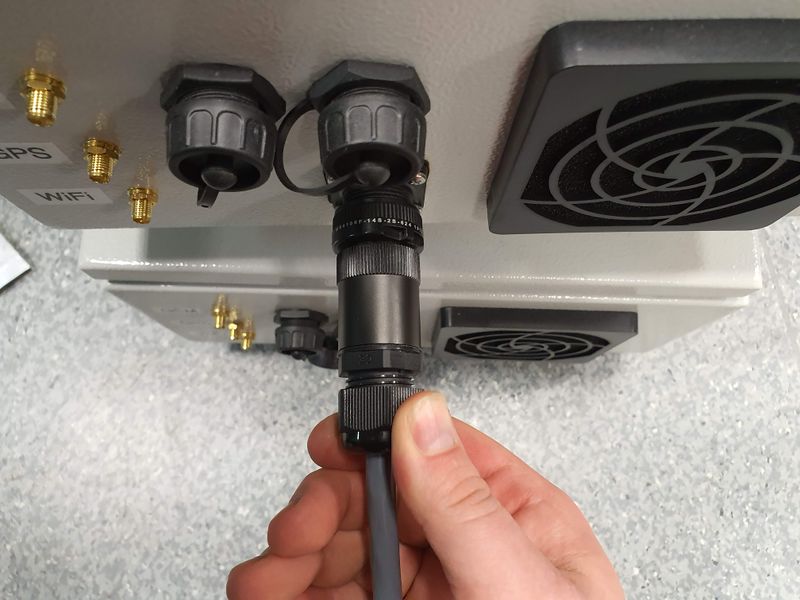
| + | [[File:20190918 123725.jpg|none|thumb|800x800px|Tighten the cable gland adaptor onto the connector. It can be helpful to mate the plug with a fireball observatory when doing this.]] | ||
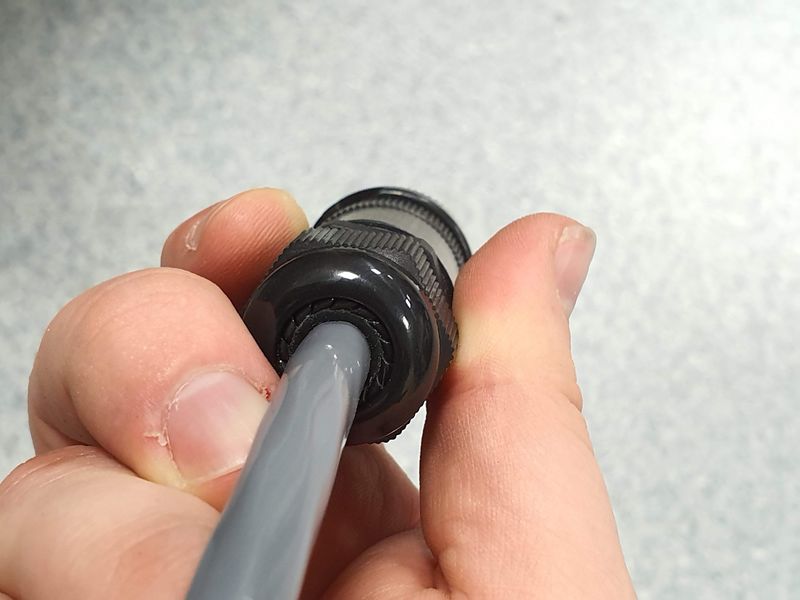
| + | [[File:20190918 123729.jpg|none|thumb|800x800px|After tightening the gland adaptor onto the plug, and the gland onto the adaptor, tighten the cable gland to clamp onto the cable. Doing this in the correct order is important to ensure that the wires aren't forcefully twisted inside the plug, which could cause a short circuit.]] | ||
| + | [[File:20190918 123756.jpg|none|thumb|800x800px|The gland should clamp the cable securely like this.]] | ||
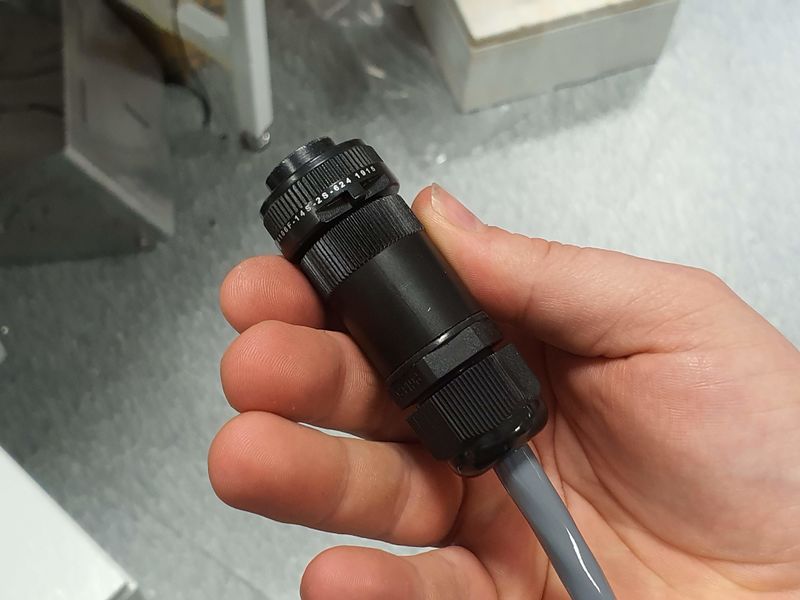
| + | [[File:20190918 123806.jpg|none|thumb|800x800px|The plug should now look like this.]] | ||
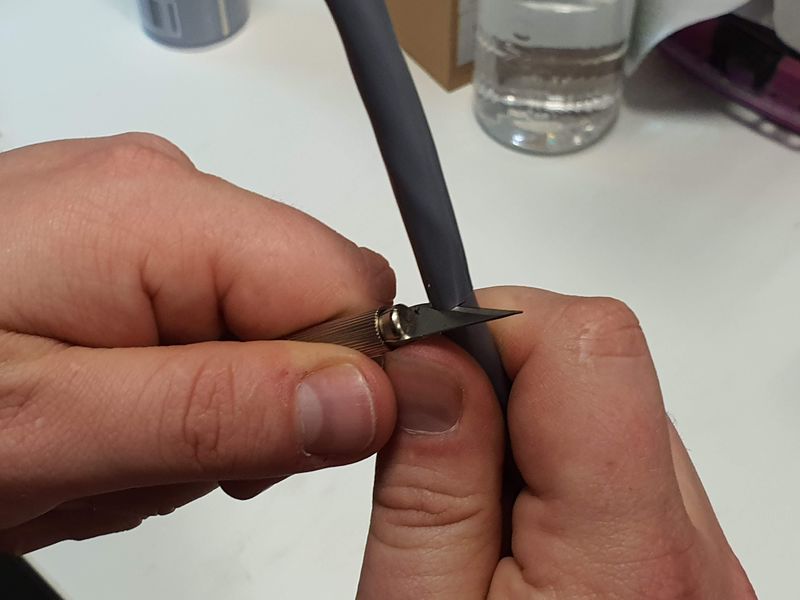
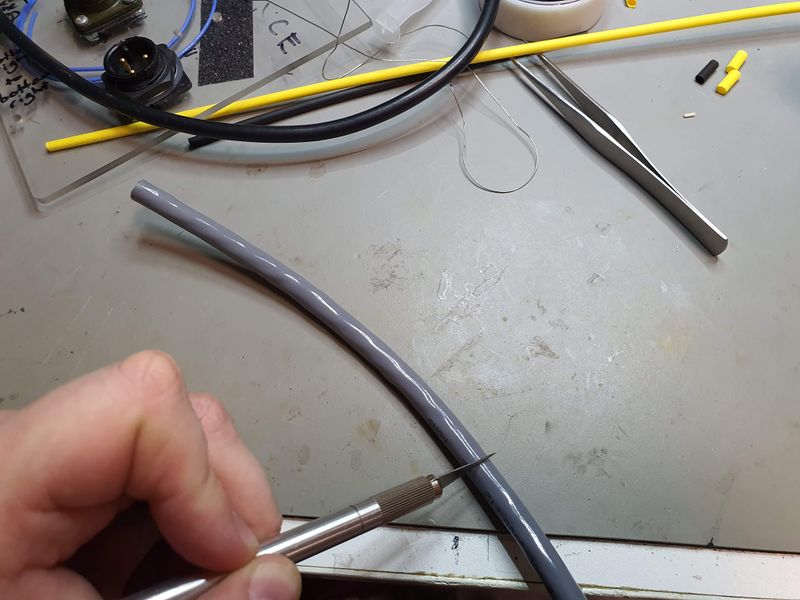
| + | [[File:20190918 124546.jpg|none|thumb|800x800px|Cut the long DC cable to the required length and strip the jacket from the other end.]] | ||
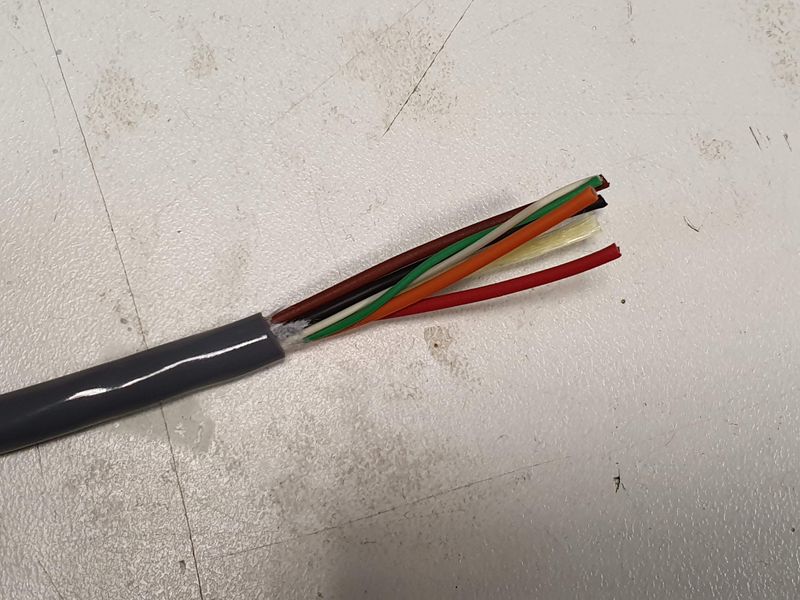
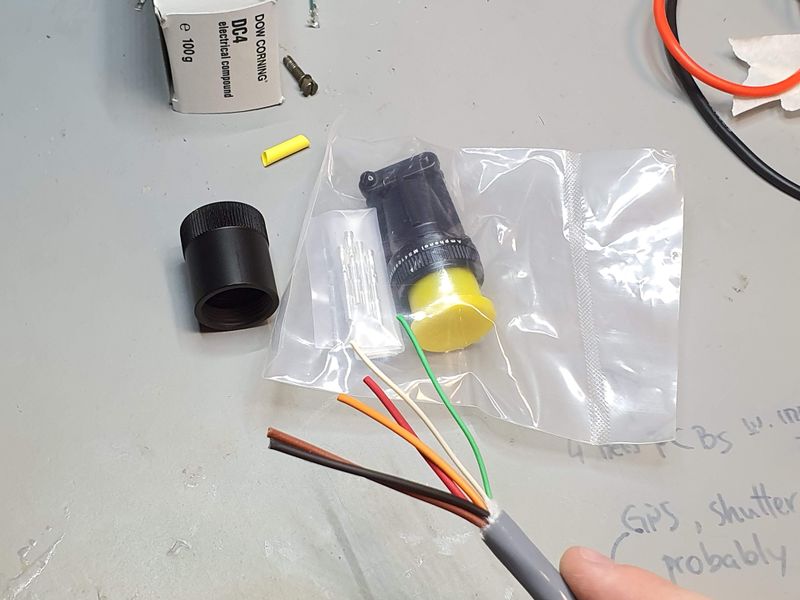
| + | [[File:20190918 124546.jpg|none|thumb|800x800px|You will need to strip the jacket from a longer length.]] | ||
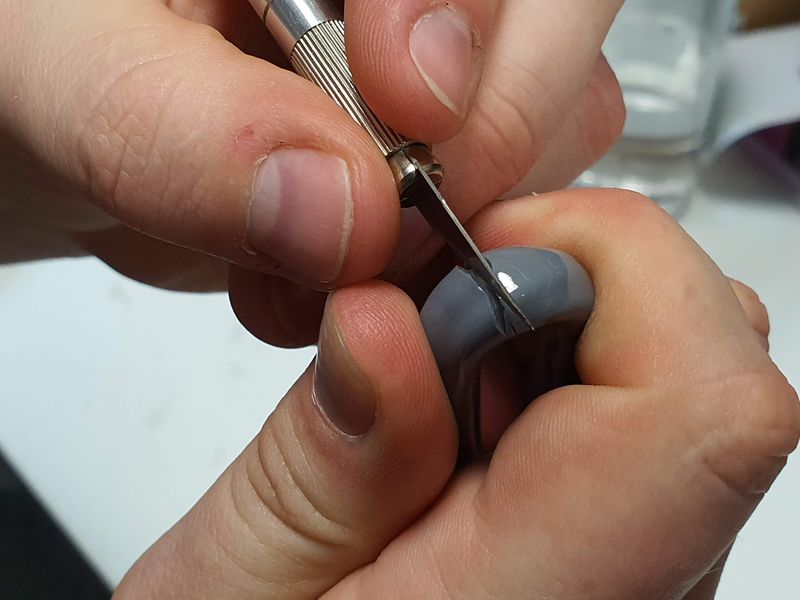
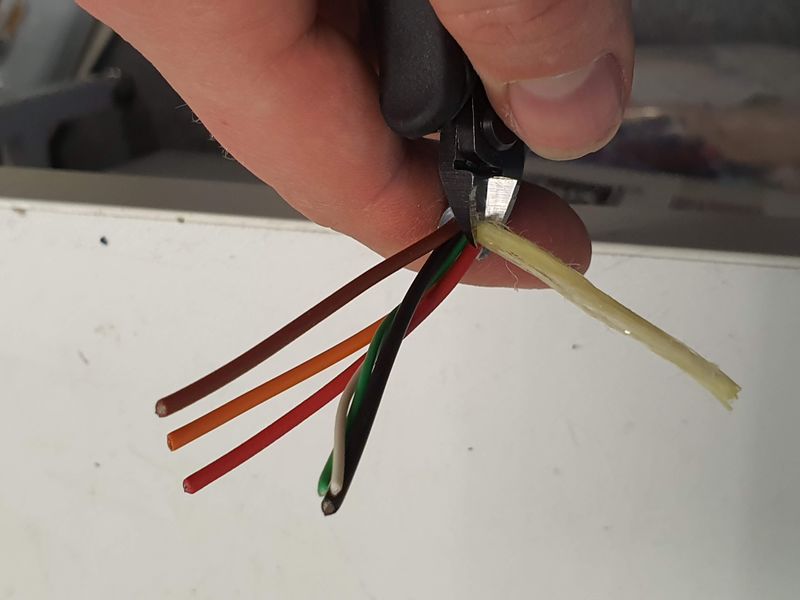
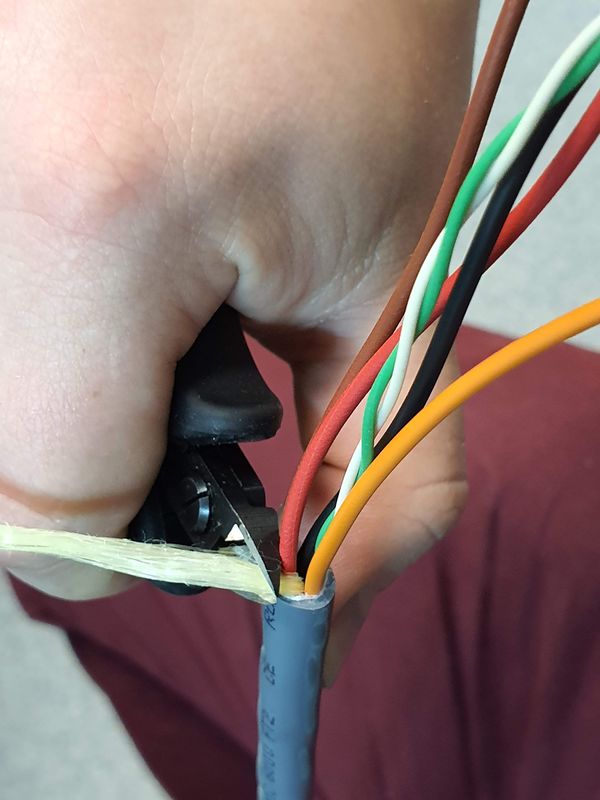
| + | [[File:20190918 124812.jpg|none|thumb|800x800px|Cut out the centre material.]] | ||
| + | |||
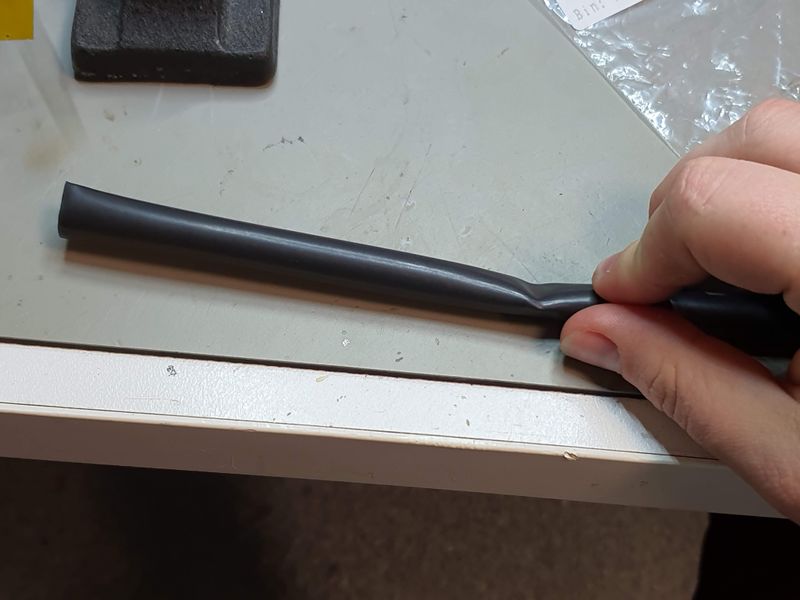
| + | [[File:20190918 140828.jpg|none|thumb|800x800px|Cut a ≈30 mm length of ≈10 mm heat shrink (glue lined if available) to provide strain relief for the wires exiting the jacket.]] | ||
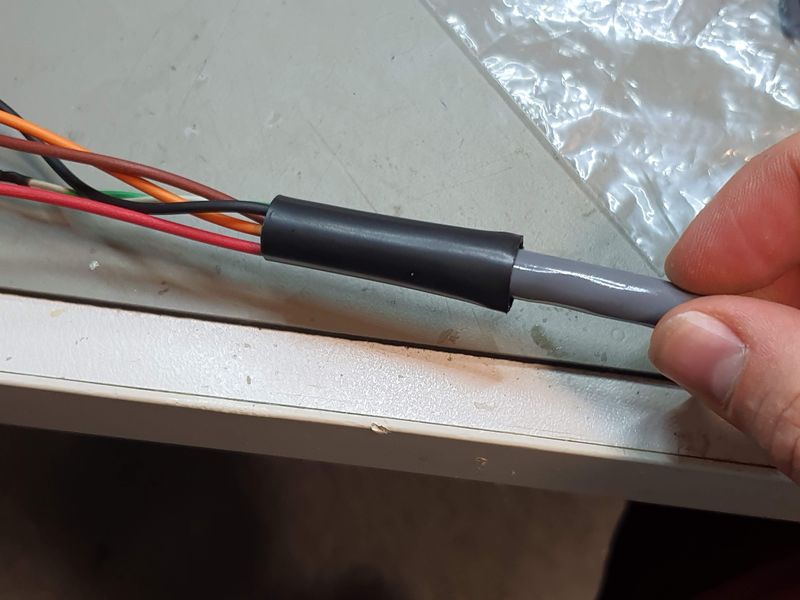
| + | [[File:20190918 140939.jpg|none|thumb|800x800px|Place the thick heatshink over the end of the jacket.]] | ||
| + | |||
| + | |||
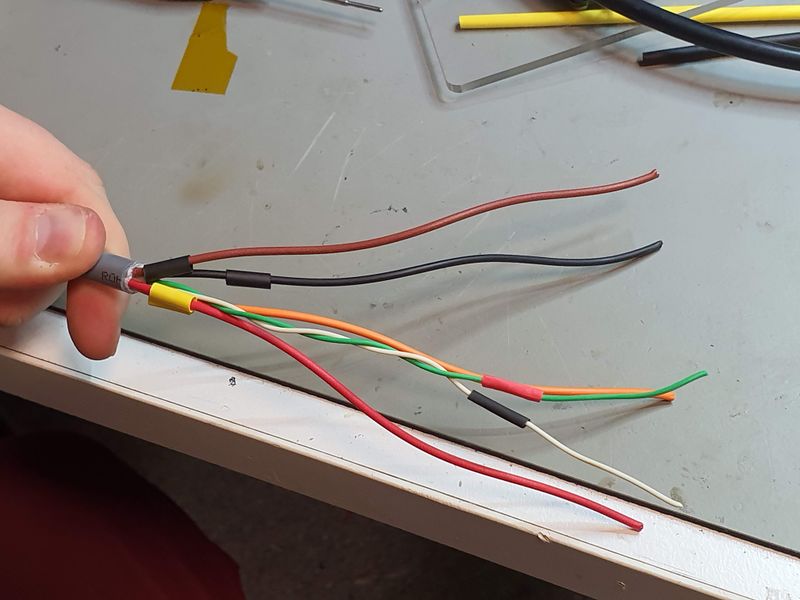
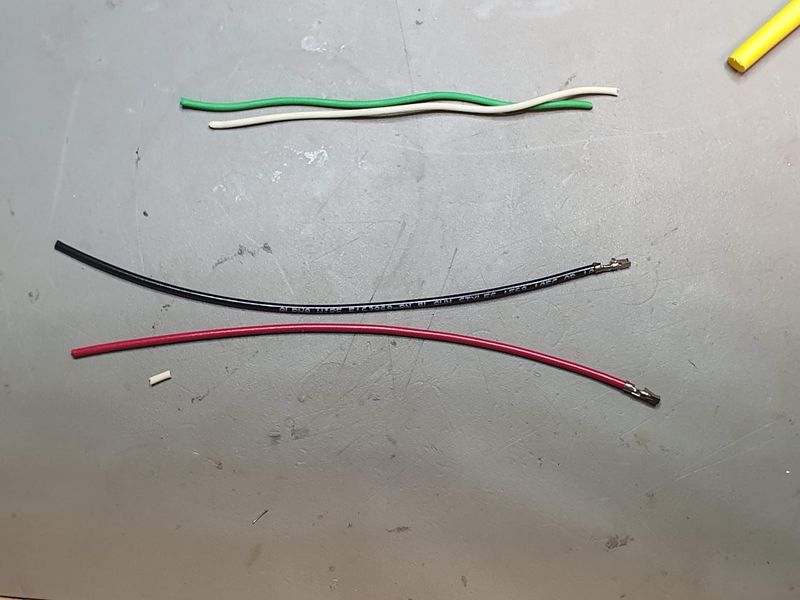
| + | [[File:20190918 125003.jpg|none|thumb|800x800px|Cut some ≈10 mm lengths of 1.5-3 mm heatshrink for the voltage sense wires.]] | ||
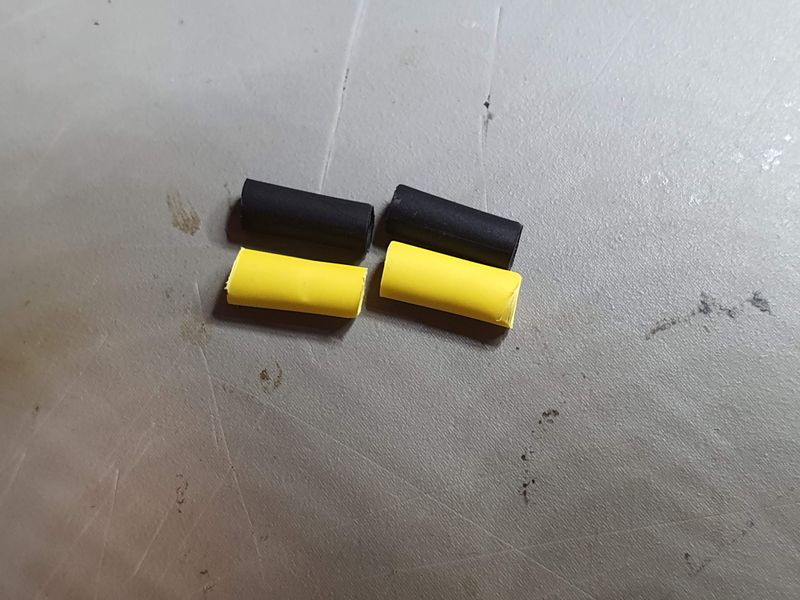
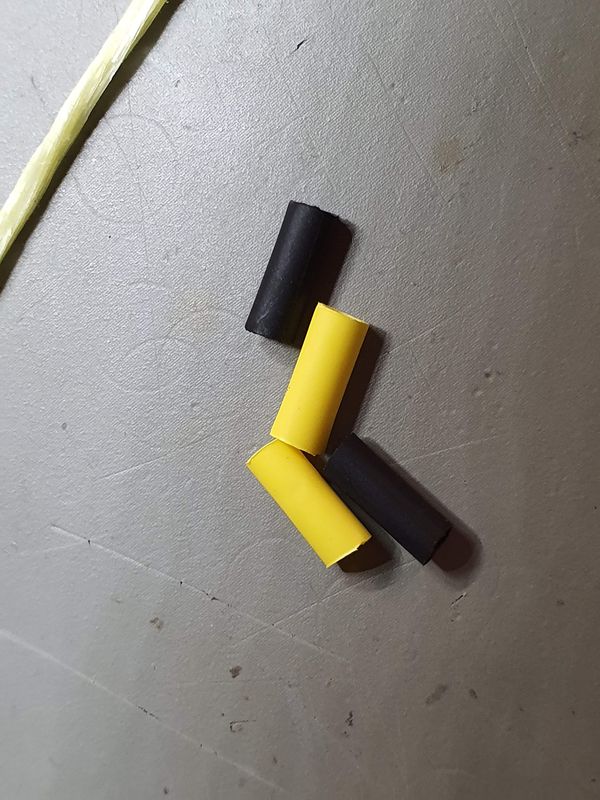
| + | [[File:20190918 124842.jpg|none|thumb|800x800px|Cut some ≈10 mm lengths of 3 or 5 mm heatshrink tubing which will be used to label the fork crimps. Use yellow for +12V and black for GND.]] | ||
| + | [[File:20190918 125102.jpg|none|thumb|800x800px|Place the heatshrink on the wires ensuring that the colours correctly match the pins at the other end. You can use the continuity checker (beep) functionality of a multimeter to check which wire is connected to which pin.]] | ||
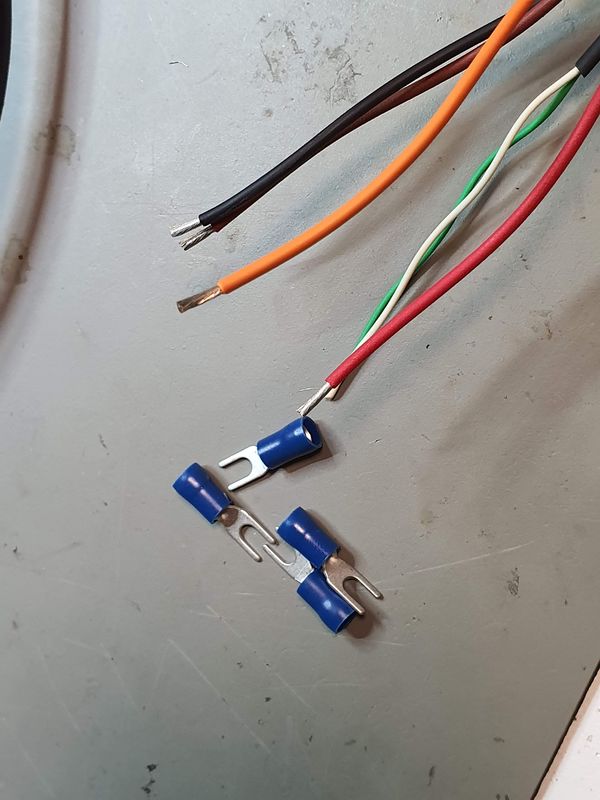
| + | [[File:20190918 135624.jpg|none|thumb|800x800px|Strip the power wires for the 4 mm fork terminals.]] | ||
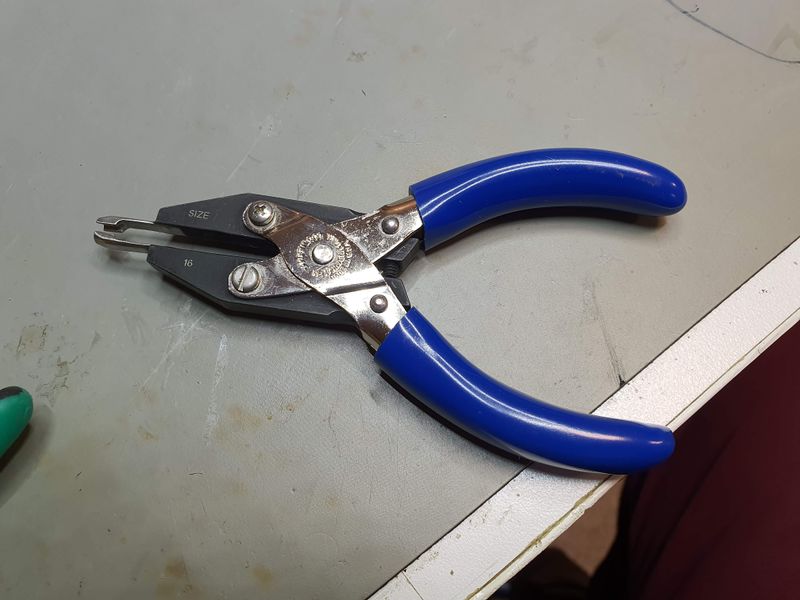
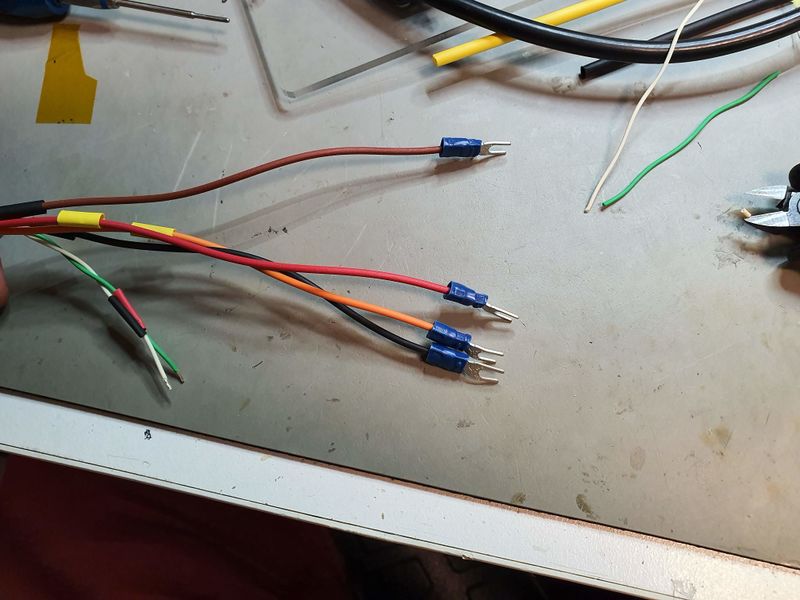
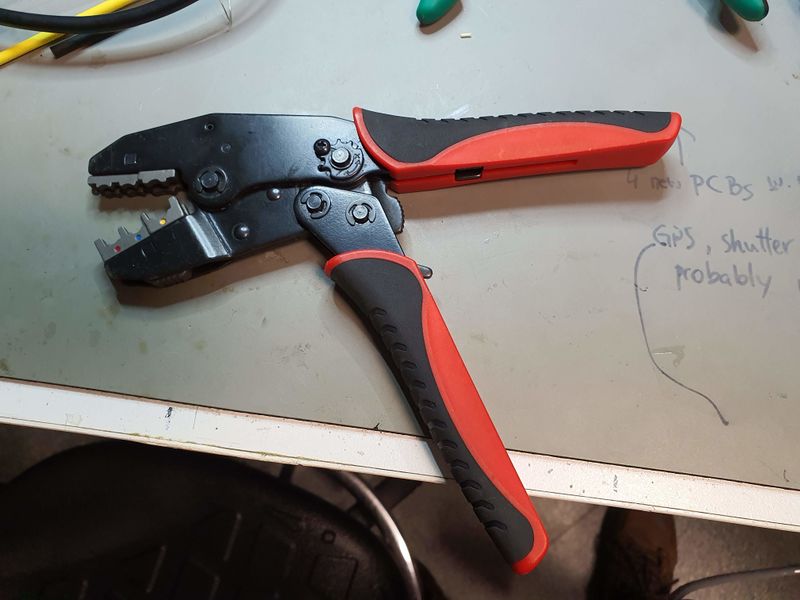
| + | [[File:20190918 135630.jpg|none|thumb|800x800px|Use a crimp tool for insulated terminals like this to crimp the fork terminals onto the ends of the wires. Ensure that the labelling heat shrink doesn't fall off. Use a ratcheting crimp tool like this with a good quality die. Do not use a non-ratcheting crimp tool made from two pieces of stamped steel.]] | ||
| + | [[File:20190918 135819.jpg|none|thumb|800x800px|Cut back the voltage sense wires about 50 mm and strip about 5 mm.]] | ||
| + | [[File:20190918 140019.jpg|none|thumb|800x800px|Cut the pre-crimped DF-11 jumper cables in half and trim to about 20 mm longer than the off-cuts from the voltage sense wires (a length of about 70 mm). Strip about 5 mm from the ends of the jumper wires.]] | ||
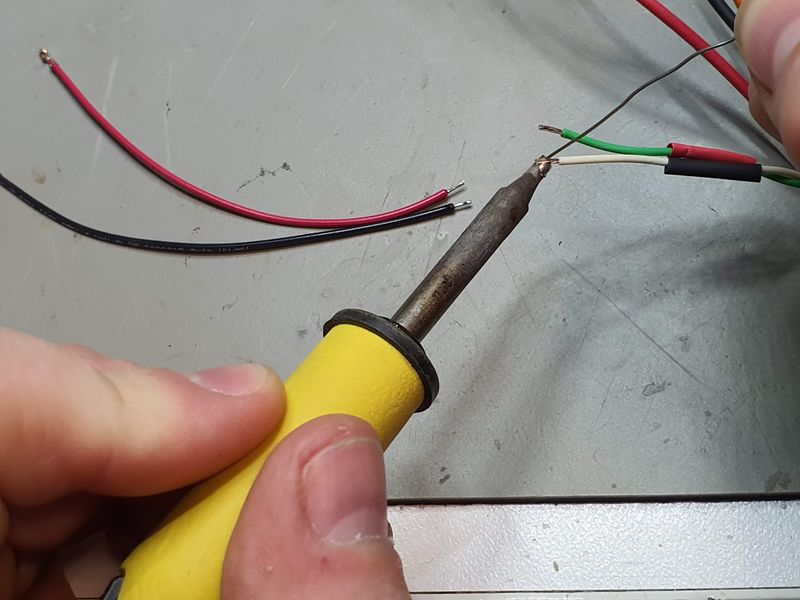
| + | [[File:20190918 140158.jpg|none|thumb|800x800px|Tin the stripped ends of the voltage sense wires and jumper wires.]] | ||
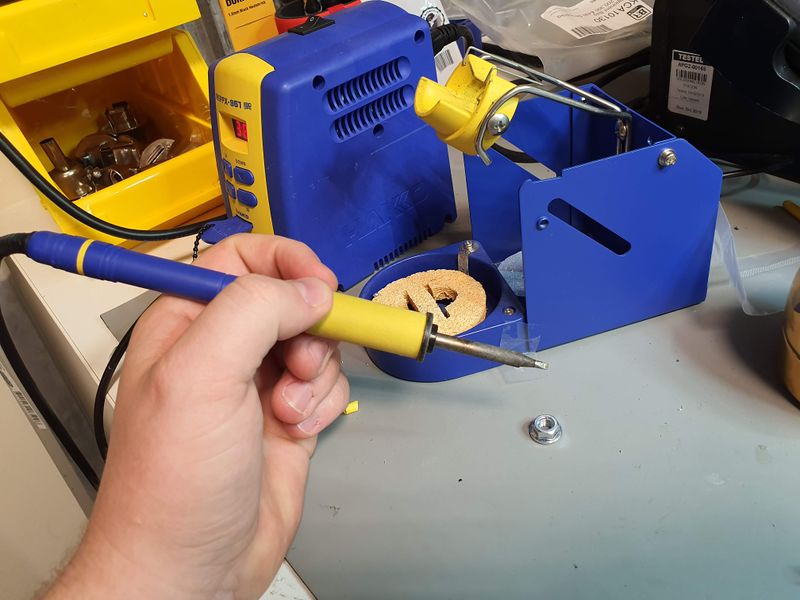
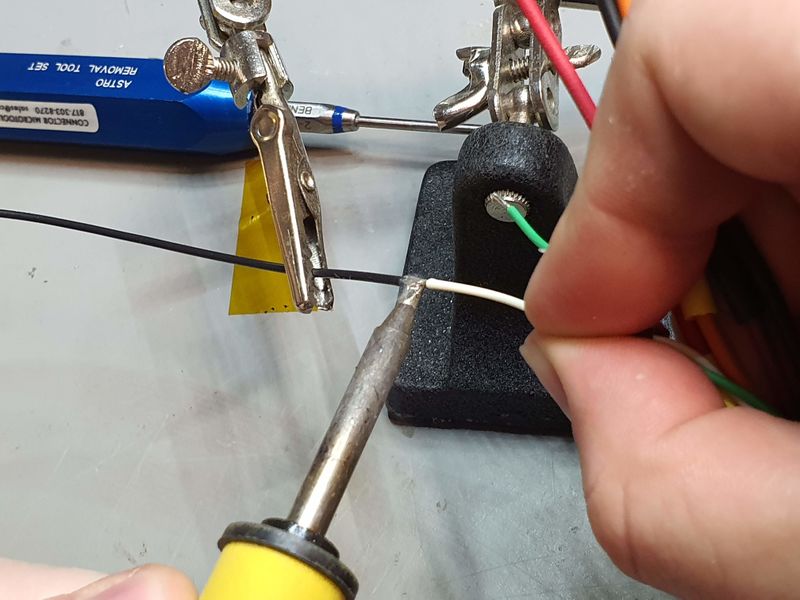
| + | [[File:20190918 140254.jpg|none|thumb|800x800px|Join the wires and reflow the solder with the soldering iron.]] | ||
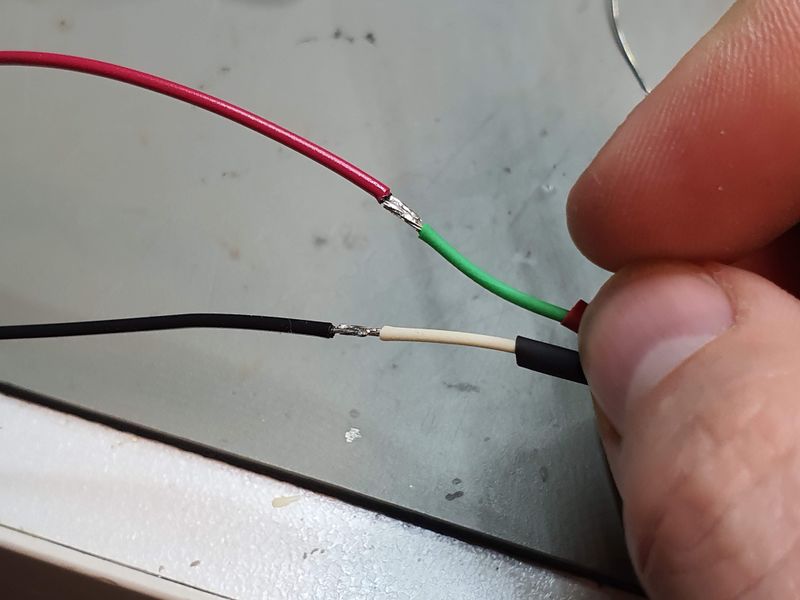
| + | [[File:20190918 140334.jpg|none|thumb|800x800px|The joints should look something like this.]] | ||
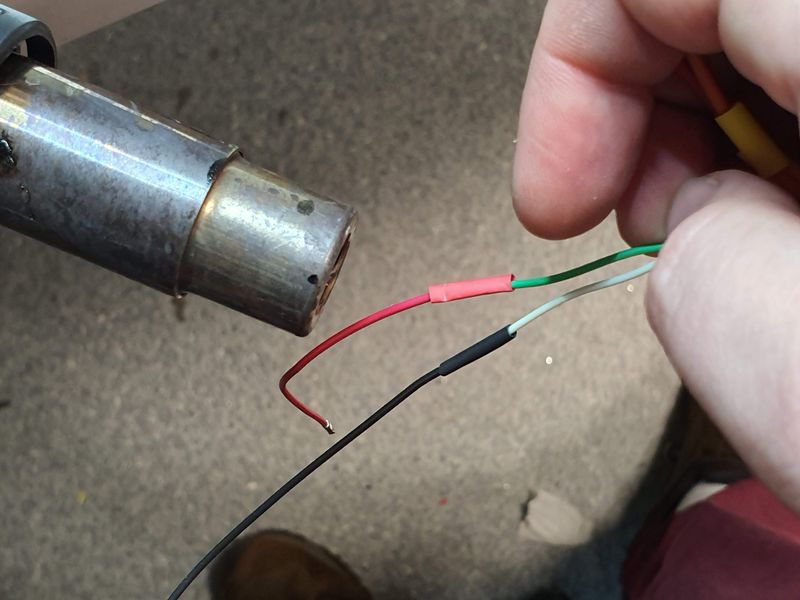
| + | [[File:20190918 140355.jpg|none|thumb|800x800px|Slide the thin heatshrink tubing down to the joint use hot air to shrink.]] | ||
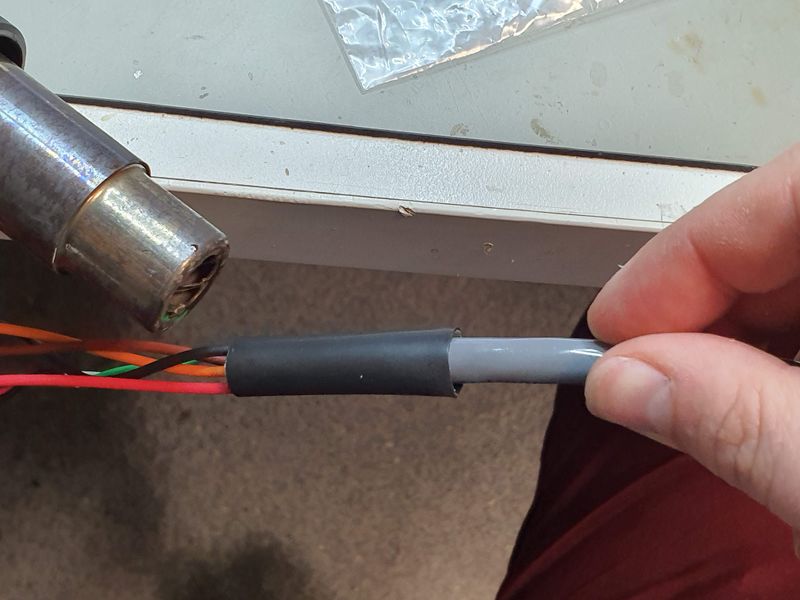
| + | [[File:20190918 140948.jpg|none|thumb|800x800px|Shrink the strain relief heatshrink tubing as well, lining up the centre of the heatshrink tubing up with the end of the jacket.]] | ||
| + | |||
| + | add df 11 stuff | ||
| + | |||
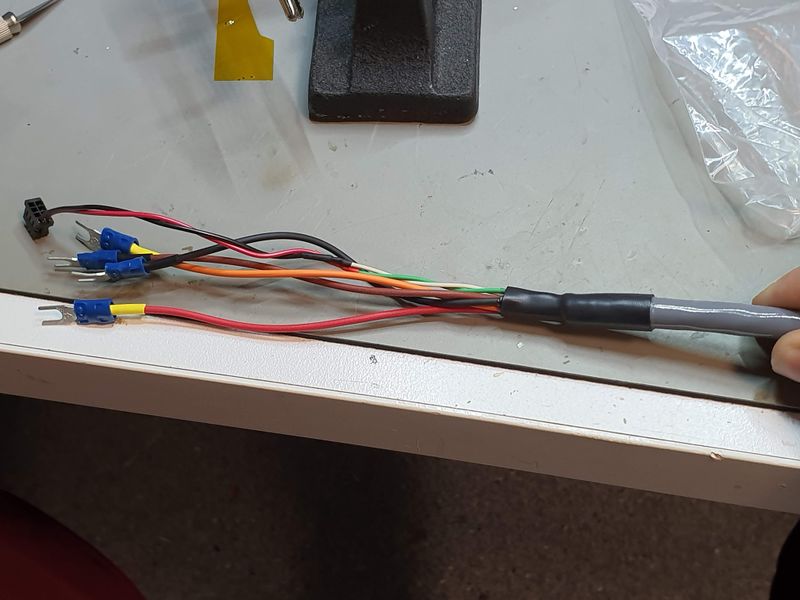
| + | [[File:20190918 141031.jpg|none|thumb|800x800px|The long DC cable is now complete and the power supply end should look like this.]] | ||
Latest revision as of 17:47, 24 October 2019
The power supply recommended for AC powered installations where the observatory is located close to the AC power supply is the Meanwell GST120A12.
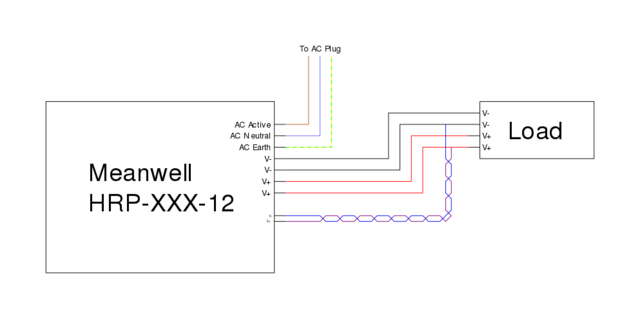
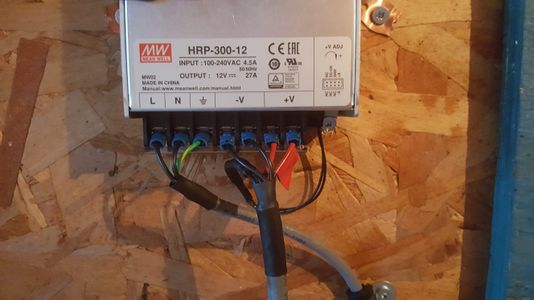
For observatories with heaters and long DC power cable runs the Meanwell HRP-300-12 is recommended as it's remote sense functionality allows it to compensate for any voltage drop in the long cable runs. (If no heaters are present, the Meanwell HRP-150-12 is the preferred option.)
Direct links to order Meanwell HRP-300-12 from USA:
HRP-300-12, Mouser Electronics
Accessories for Meanwell HRP-300-12:
TRC-E-HRP300450600 enclosure for HRP-300-12
US/Canada power cord for HRP-300-12
Contents
Outdoor Cable
The recommended off the shelf for use on roofs or outdoor structures is the sunlight and abrasion resistant AlphaWire EcoFlex PUR 80045 SL005 (unshielded) or 80145 SL005 (braid shield). Digi-Key usually has one or the other in stock: 80045 SL005, 80145 SL005.
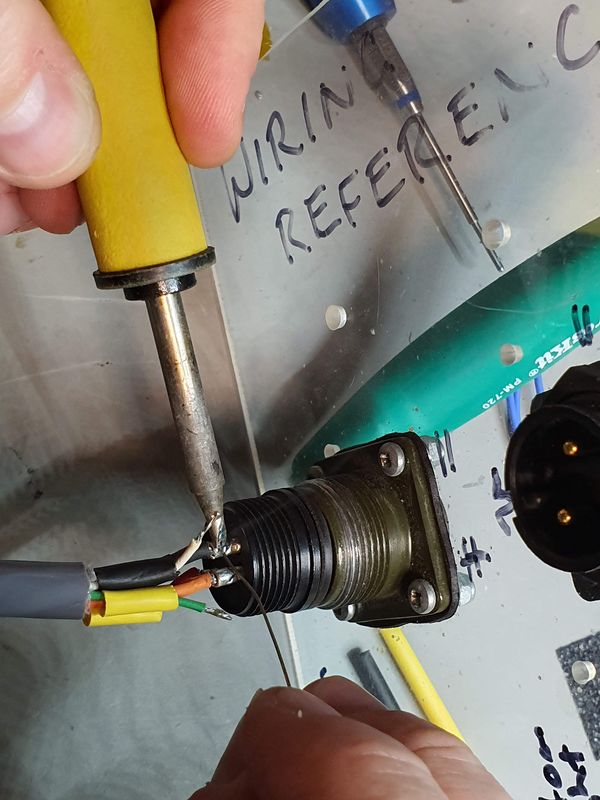
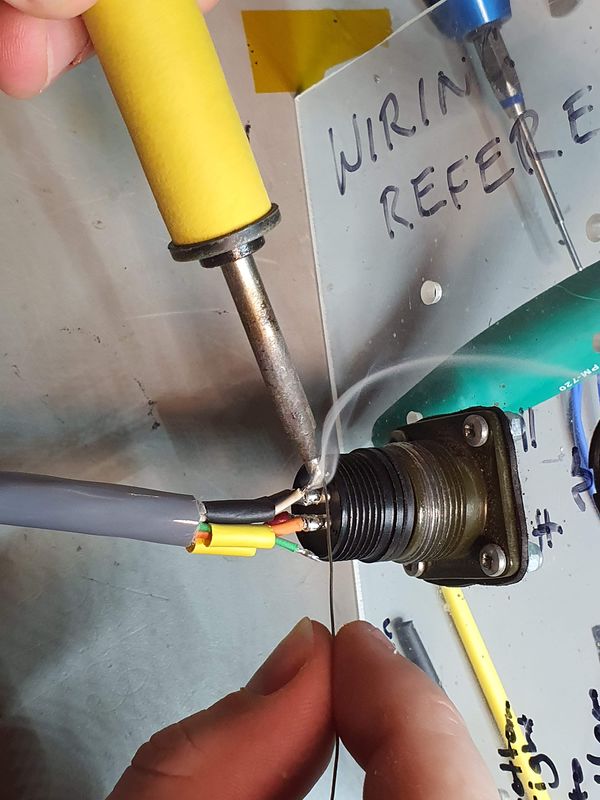
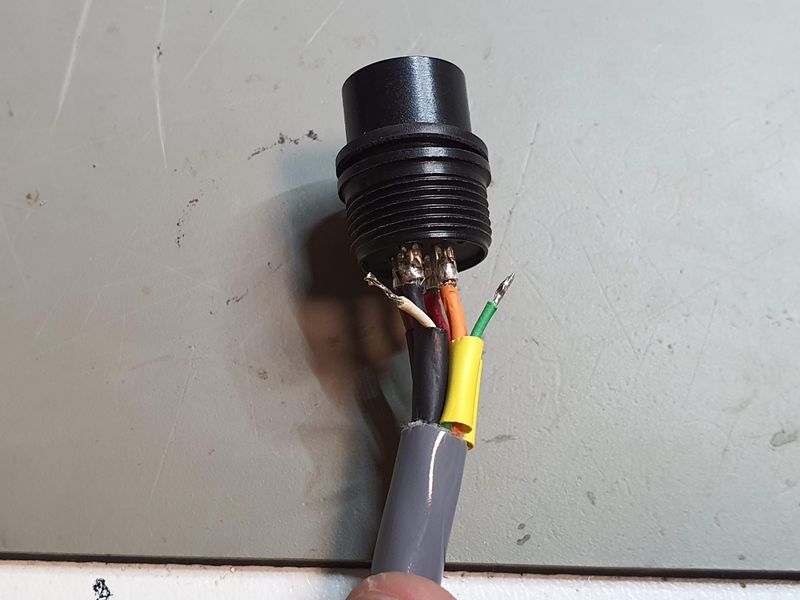
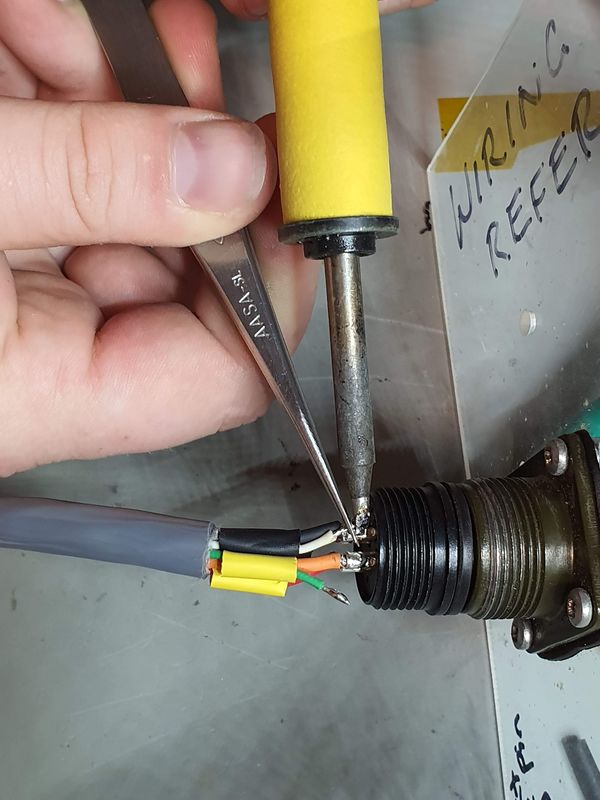
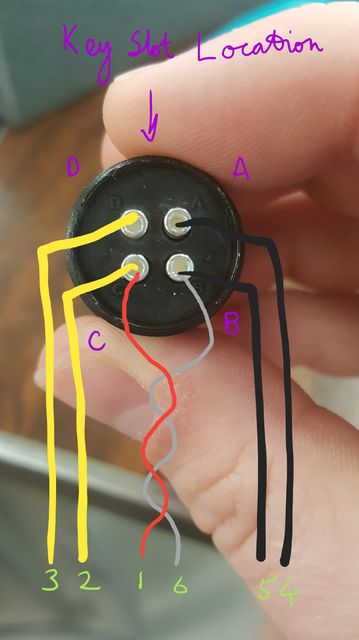
That cabling doesn't have a twisted pair, so we recommend wiring up the conductors to the green numbering in the two images below.
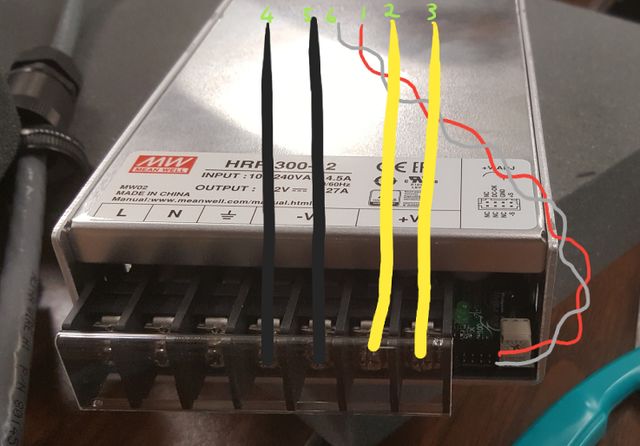
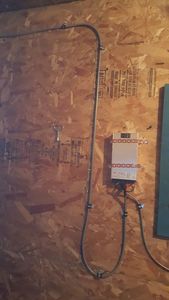
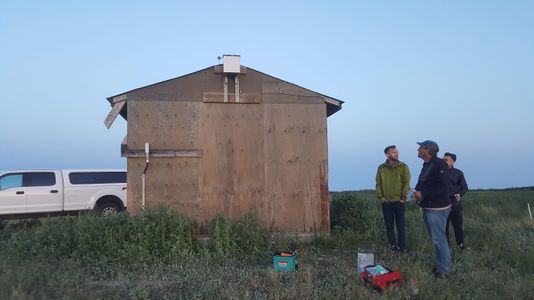
Mathias Research Ranch Installation in Alberta, Canada
Long DC Cable Run Connector Care Package
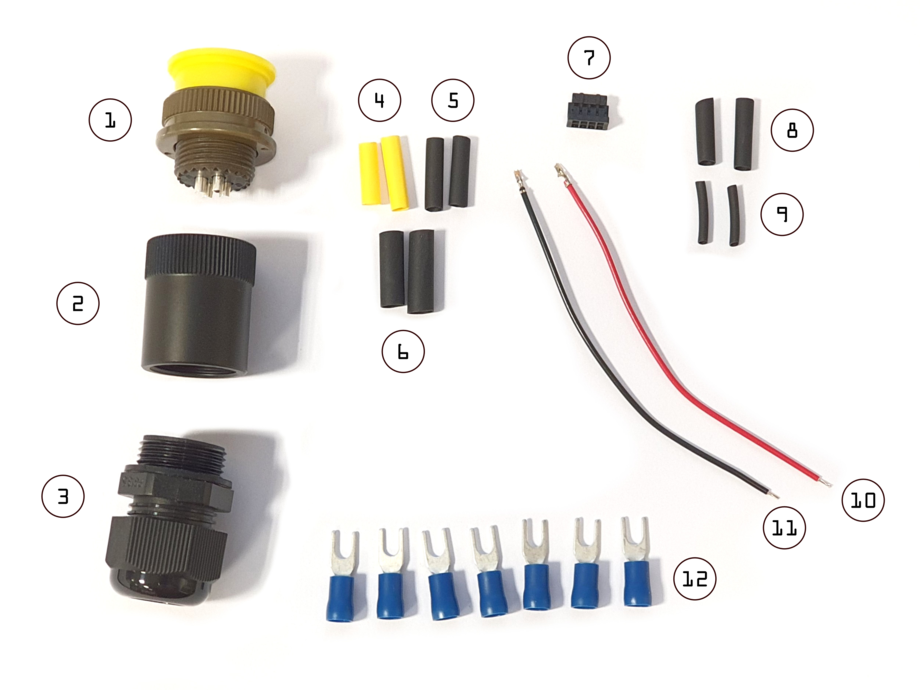
If you need to build your own long cable with (using the cable listed above) you can request a Long DC Cable Run Connector Care Package from us. It should contain:
Long DC Cable Assembly
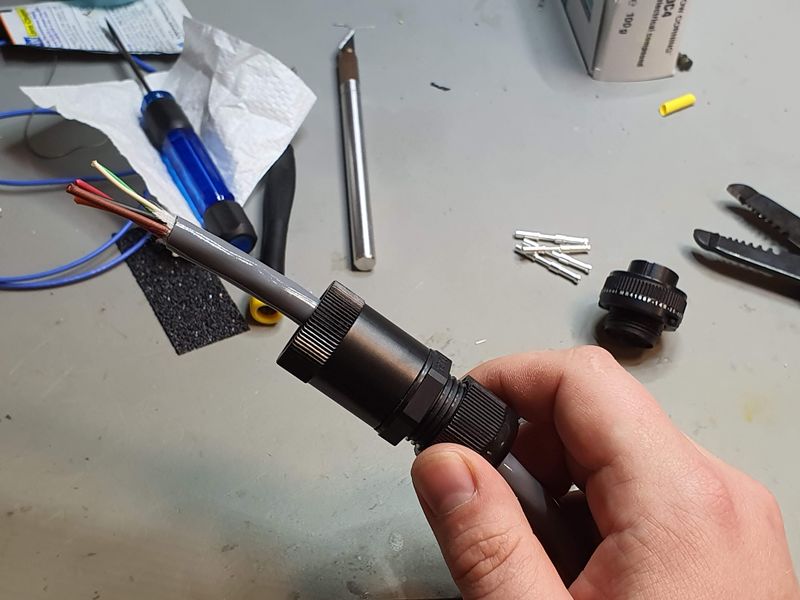
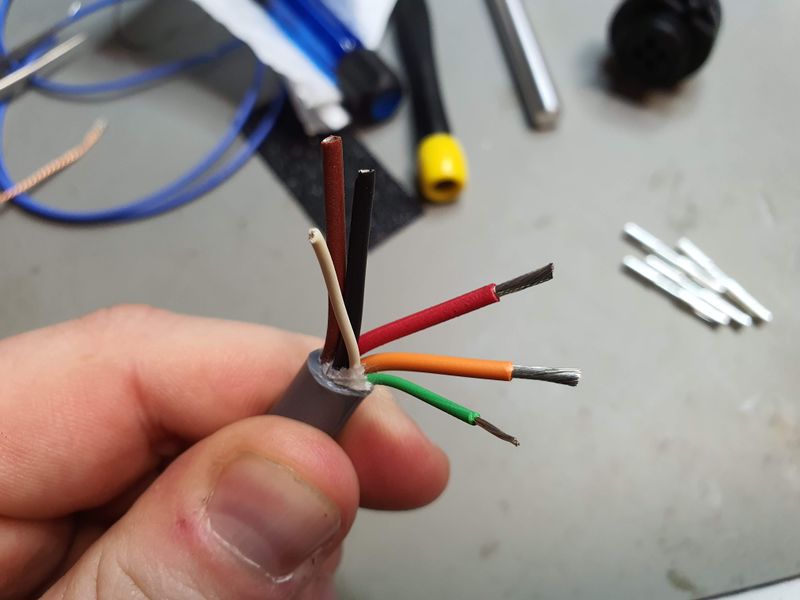
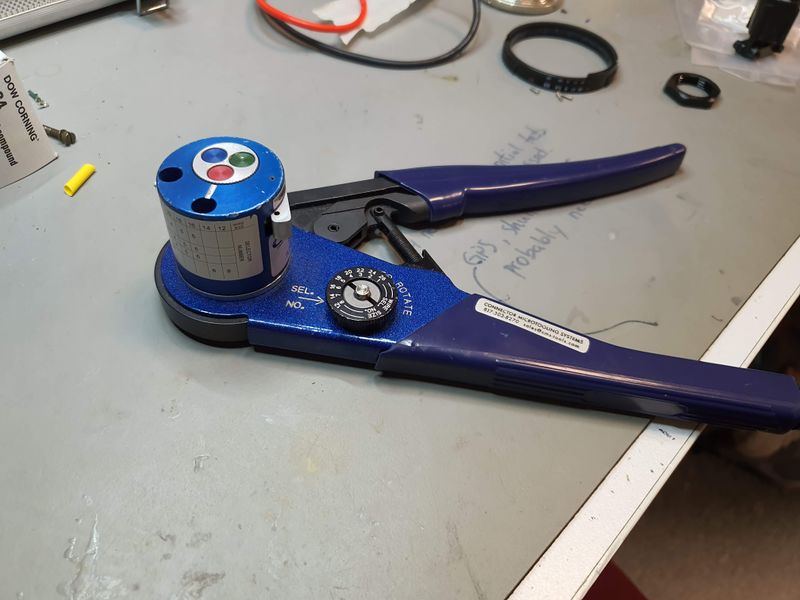
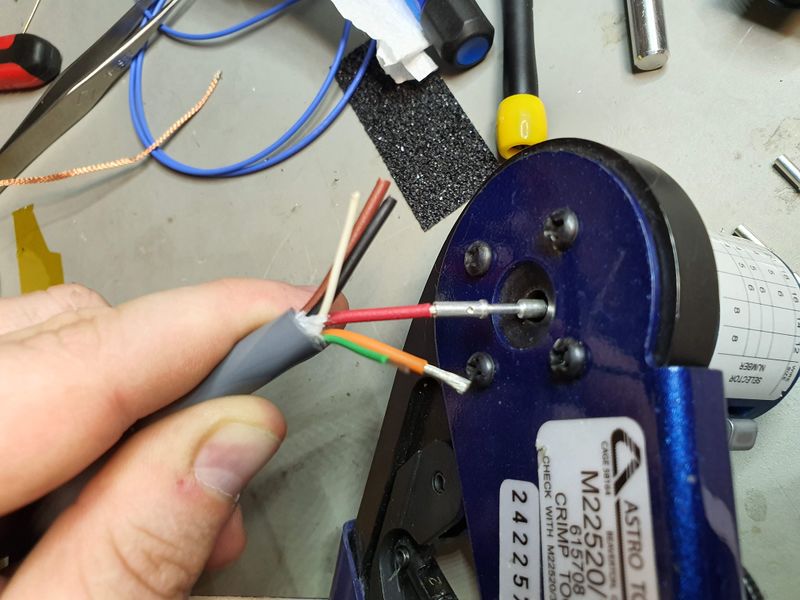
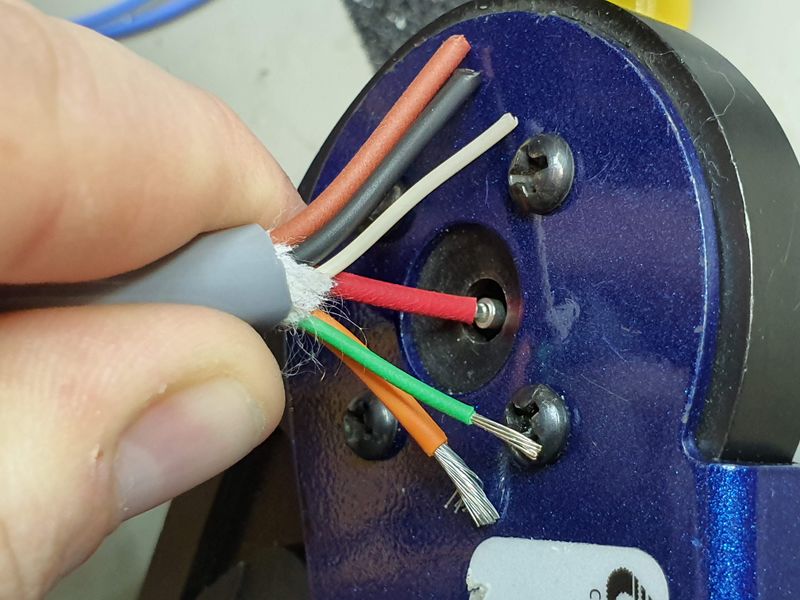
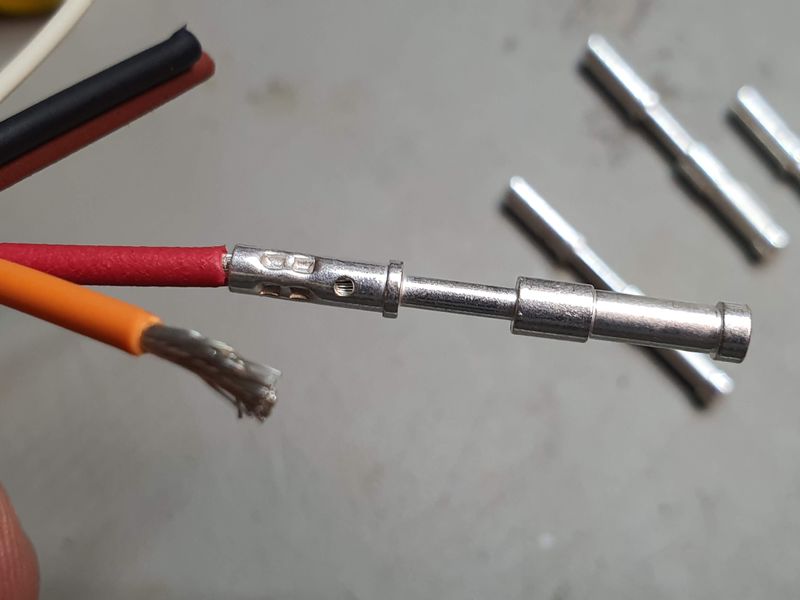
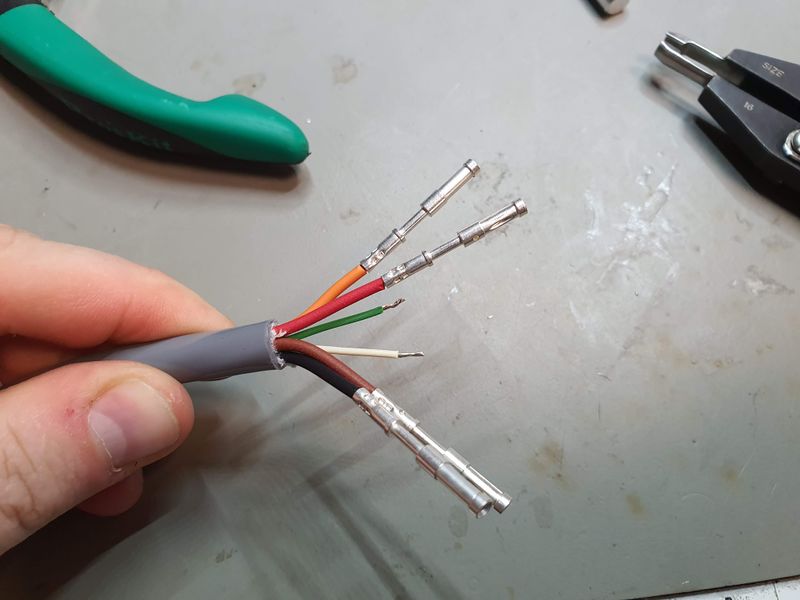
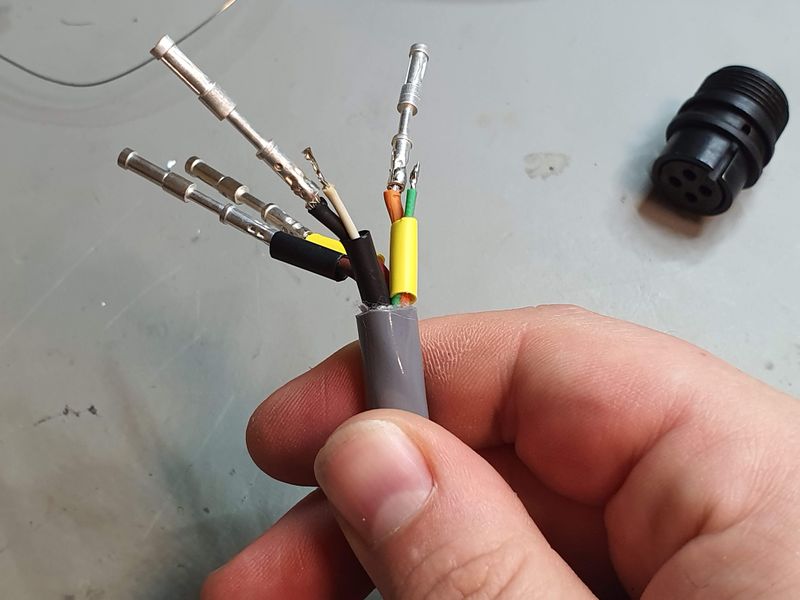
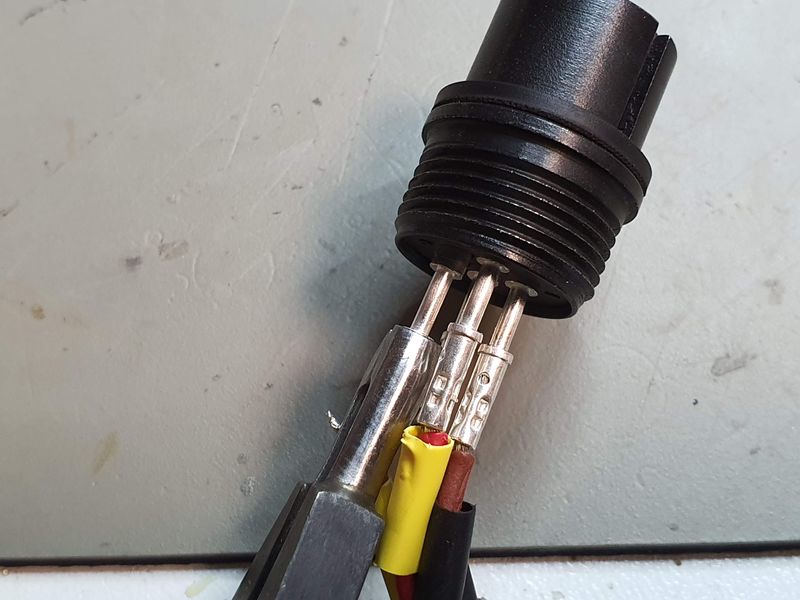
Your connector should now look like this:
add df 11 stuff
