Standalone Fireball Camera Installation
Solar powered sites - 12V system with 2-3 12V panels in parallel


Solar powered sites - new design - one large 24V panel, MPPT charging controller


Contents
- 1 Parts
- 2 Observatory deployment
- 2.1 Observatory Stand Assembly
- 2.2 Solar Panel Stand Assembly
- 2.3 Solar Power System
- 2.3.1 Design and parameters
- 2.3.2 Enclosure
- 2.3.3 Deep Cycle Battery
- 2.3.4 Battery Energy SunGEL Long Life Gel Battery
- 2.3.5 Solar Charge Controller
- 2.3.6 Solar Panel(s)
- 2.3.7 Fuses and Fuse Holders
- 2.3.8 Wire for connections
- 2.3.9 Cable Glands or Panel Mount Connectors
- 2.3.10 DFN Observatory Power Connector
- 2.3.11 DFN Observatory DC Power Cable
- 2.4 Power System Wiring
- 2.5 Set Up Observatory
- 2.6 Fence
Parts
Have the below designs laser cut. Number per installation and material are specified in the filenames.
Sunshield
DXF exports for laser cutting:
- Small DFNEXT/DFNSMALL 2mm aluminium sunshield for cold/moderate climate areas 20170330_Sunshield_2mm_Al.dxf
- Important: the GPS antenna mount point od the small sunshield needs to be bent / dropped a bit not to block the fielad of view of the all-sky fish eye lenses.

See these images: Arizona DFNEXT system, Granum camera system in Alberta, Canada
- Large DFNEXT/DFNSMALL 2mm aluminium sunshield for hot climate areas 20191218_large_dfnext_sunshield_2mm_aluminum.dxf
- Similar with the large sunshield - needs to be bent, see the images above. This new design was improved by adding slits along the bend line, which makes the bending a lot easier in the field.
Solar Panel Stand
DXF exports for water jet cutting:
- PART_solar_support_45d_MAT_5mm_mild_steel_QTY_2.dxf
- PART_solar_support_sand_shoe_MAT_5mm_mild_steel_QTY_4.dxf (in soft soil)
- PART_wedge_MAT_10mm_mild_steel_QTY_30.dxf
- 30x30x3 Aluminium angle bar
Observatory Stand
DXF exports for water jet cutting:
- PART_stand_rib_MAT_5mm_mild_steel_QTY_1.dxf
- PART_stand_base_MAT_5mm_mild_steel_QTY_1.dxf
- PART_stand_back_MAT_5mm_mild_steel_QTY_1.dxf
- PART_wedge_MAT_10mm_mild_steel_QTY_30.dxf
- Fencing wire to construct tensioning stays
(Note: wedges are included twice as they are used by both designs but only 30 in total are required per installation.)
Other Parts
- Star picket stakes to secure the stand in soft soil, or
- Sand bags or rocks to weigh down stand in rocky terrain
- Hardware to build the fence - if applicable (see below)
Observatory deployment
Plan the site orientation: solar panels pointing North and camera system box door pointing the opposite direction - South. (This is valid for the Southern hemisphere, North hemisphere is the other way.) There are a few photos on top of this page for inspiration.
Observatory Stand Assembly
At least two people are recommended for assembling the stand.
- Place stand base on four blocks or bricks ensuring there is clearance for the rib and back's tabs.
- Place stand back on top of base and insert tabs.
- Lean stand back outwards and insert stand rib. You may have to wiggle the pieces until they fall into place.
- Start inserting wedges staring from the corners. Do the top first and then start on the bottom corners. It may be helpful to tilt the stand over a bit or lay it down on its side.
- Once the wedges are are all securely inserted, wire up the four fencing wire cross stays and tension by twisting using a large screwdriver.
- Align stand so stand back is facing south (in the Southern Hemisphere, north in the Northern Hemisphere).
- Stake down the stand in soft soil or weigh down the stand using rocks or sandbags. As the centre of mass is not over the centre in the base, it is not safe to leave the stand without weight or stakes.
Solar Panel Stand Assembly
- Assemble solar panel stand using aluminium angle bar, wedges, panels and self tapping fasteners (Tek Screws) into the panels.
- Add sand shoes in soft soil
- Stake or weigh down solar panel stand.
Solar Power System
Design and parameters
The battery capacity and solar panels size needs to be appropriate for the climatic conditions in the deployment area. Basically, a fully charged battery should be able to operate the system for at least 3 days. This is for the case of a series of days with thick clouds. And the solar panels size should be such that even in the middle of the winter, on a sunny day, an empty battery gets fully charged in about one day (or better in less than a day).
The angle of solar panels shall be optimised to maximise energy captured in the middle of winter. That is often steeper than what would be the intuitive angle or what is used for residential installations on the roofs of family homes. While the flat are nearly flat position is perfect for summer to maximise the energy catchment when powering air conditioning units or maximising overall annual energy gain from the solar power. But it will gather less energy in winter when the sun is lower, during the period, when the camera system actually has the highest demand. This system is active during night, capturing photos of night sky, and nights are longer in winter.
This solar panel angle calculator is an easy tool to calculate the optimal angle for winter months.
Components:
- Enclosure
- Deep cycle battery
- Solar charge controller
- Solar panel(s)
- Fuses and fuse holders for load and battery if not provided by solar charge controller
- Wire for connections
- Cable glands or panel mount connectors
- DFN observatory power connector
- DFN observatory DC power cable
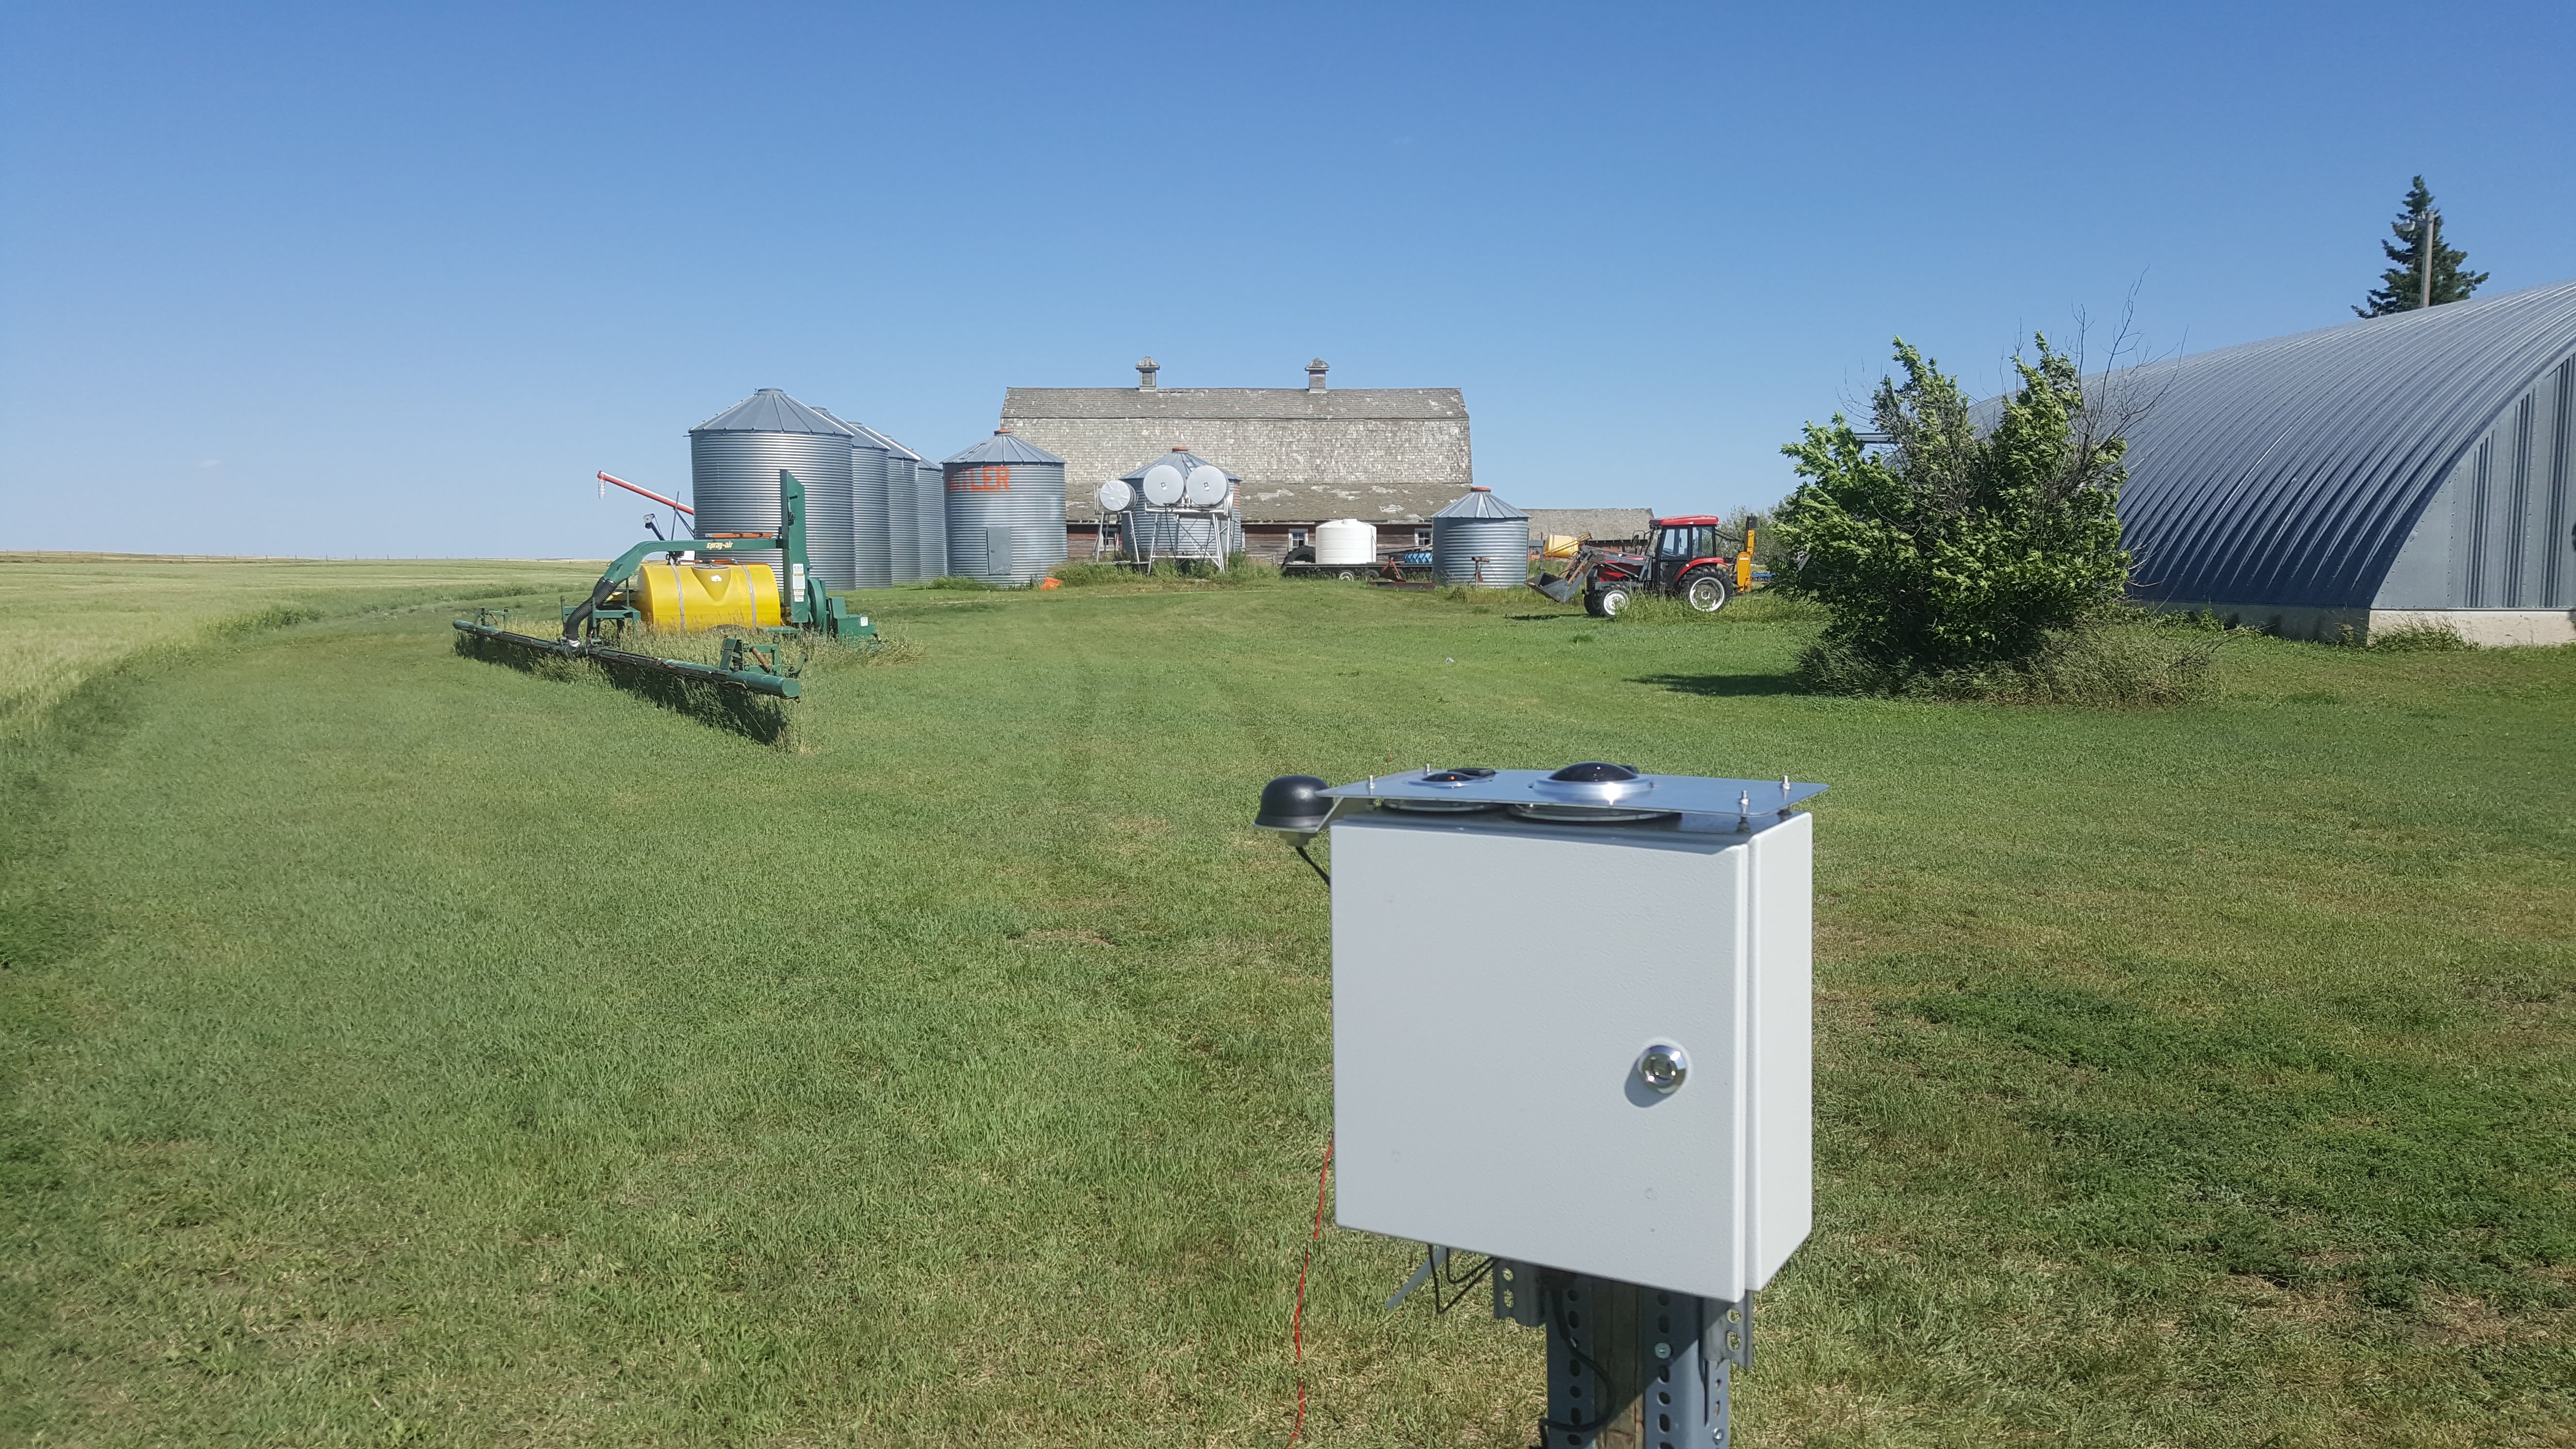
Enclosure
The B&R Forte FR060430 has been used for all previous solar powered DFN observatory installations (unless there is an existing power supply). It is available from electrical wholesalers (e.g. Advanced Electrical Equipment, Electrical Distributors, MM Electrical Merchandising) or at a higher price from RS Components.
Note: we always to put the battery enclosure on a couple of bricks. In case of a torrential rain, water will not get into the enclosure. Wooden blocks are not recommended, as they might get eaten by termites and collapse.
Deep Cycle Battery
Note: The solar power system is currently being redesigned to cope with the additional load of the digital video camera subsystem.
The recommended battery for the DFN fireball observatories is a 140-180 AH deep cycle lead acid battery. This is the same sort of battery you would use to run a fridge in an RV or boat. AGM (absorbant glass mat) or gel constructions should be used. The DFN uses 165 or 175 AH AGM deep cycle batteries. Ensure that the battery will fit inside the Forte FR060430 with the solar charge controller. (Usable internal dimensions are a bit less than 600x400x300 mm.)
Good suppliers include:
It is worth ordering in bulk and obtaining multiple quotes to secure a good price. Lead acid batteries will degrade if not kept charged, so it is worth charging any batteries you have in storage about every six months.
When used in a solar power application it is best to keep the depth of discharge of lead acid batteries to 30% or less to prolong the cycle life of the battery.
If the recommendations on this page are followed and the charging voltages on the solar charge controller are set correctly for your battery, your observatory's battery should last at least four years. Long life tubular gel cell batteries may offer lifetimes of 15-20 years, but have not been tested.
Battery Energy SunGEL Long Life Gel Battery
File:SunGEL Installation and Maintenance Manual BE-MA-SG-001-02-13-07.pdf
File:Charging BE lead acid batteries.pdf
Solar Charge Controller
A maximum power point tracking charge controller will allow you to use much better value 200-360W 60 or 72 cell 24V solar panels designed for rooftop use and available as low as $0.50 per Watt instead of 12V 65-150W solar panels designed for camping which are much more expensive (around $2 per Watt).
Note: The solar power system is currently being redesigned to cope with the additional load of the digital video camera subsystem.
The Victron Energy BlueSolar MPPT 100/20 is a good, cost-efficient option that we now use for the recent fireball camera sites and when we re-build/upgrade the original 12V solar power systems. These have bluetooth interface which allows to configure the battery type, cut-off voltage and other parameters using phone/tablet app.
The Victron Energy BlueSolar MPPT 75/15 would be a good option that seems like good value at around $130. Note: this charge controller may not be sufficient if the DFNEXT video camera is also in use. You will also need a Bluetooth smart dongle or USB cable to program the battery charging voltages on the charge controller (about $90 or $50 respectively). If installing a DFNEXT with the video camera enabled you might want to consider the Victron Energy BlueSolar MPPT 100/15 at around $160 in case you need to add a second panel in the future.
History: the DFN has used the SunSaver SS-20L-12V with three 80-100W panels for most of its original installs back in 2013-2015, but this configuration is no longer recommended due to the high cost of 12V panels compared to 60 or 72 cell 24V panels. Also the MPPT charging controllers are now (2020+) a lot cheaper and provide better performance.
Solar Panel(s)
A single polycrystalline panel of at least 275W is recommended. We would recommend considering the Jinko Solar JKM275PP-60 which is very good value at $0.46/W. We have used the Jinko Solar JKM270PP-60 to power all of our off-grid FireOpal SSA observatories.
Fuses and Fuse Holders
The power system should be protected by two 25A automotive blade fuses placed in line with the battery and load (observatory) using blade fuse holders (unless protection is provided by the solar charge controller—as is the case with the Victron Energy BlueSolar MPPT charging controllers like Victron Energy BlueSolar MPPT 75/15).
Wire for connections
Use ≈10 AWG cable for wiring inside the battery box. Wire can be purchased from electronics shops such as Altronics or Jaycar, or from electronic components distributors such as Mouser (Red, Black).
For exterior solar panel connections use 4mm2 UV resistant solar cable. You will also need MC4 connectors and the correct crimp tool. Pre-terminated cables are also available.
Cable Glands or Panel Mount Connectors
You will need to use cable glands or panel mount MC4 connectors (Male, Female) to wire the solar panels through the wall of the battery box to the charge controller.
DFN Observatory Power Connector
The Amphenol MS3102A 14S-2P is used on the battery box and the DFN observatory for the observatory power cable. The correct gasket as well as some fastening hardware will have to be purchased separately. The mating connector which is used on the observatory power cable is MS3106F 14S-2S.
DFN Observatory DC Power Cable
Make your own power cable using these instructions File:DFNEXT DC Power Cable Assembly.pdf.
Power System Wiring
Wire up the charge controller as specified in the charge controller's user manual. (this page[1]) has more details
Set Up Observatory
- Bolt the observatory onto the stand
- Attach GNSS and mobile data antenna connections
- Connect power from battery box to observatory
- Secure lose wires using cable ties to stop abrasion and vibration from the wind
- Configure and test fireball observatory
Fence
Building a fence around the observatory is very reasonable, especially in rural areas with cattle, sheep or goats.
Tools: you'll need fencing pliers to handle the fencing wire and gloves, especially if using barbed wire. For safety reasons we also recommend to use a special tool, called "stake driver" or "fence post driver" (available in Bunnings or Stratco [2]) rather than just a big hammer - it easier to work with and more efficient.
Material: you'll need 9+1 long stakes for the fence (we use 9 of 6foot, 1 of 5 foot, all from Bunnings). Plus 3 shorter ~ 90cm ones for the camera stand base (for solar panels stand anchoring 2 more short ones). Each corner has a vertical 6ft, and a supporting 6ft at an angle. For the gate, the 5foot is the gate one that you open, and you make a fencing wire hook/ring to close the gate. You can also use a 6foot one, upside down, but its not as good!
Regarding fencing wire - you'll need about 10m for the camera stand itself, about half as much for solar stand, plus 3-4 strands to go round the fence - barbed wire will keep the cattle off better. Fencing wire is cheap, just get a big reel, same with the barbed wire. On sites with goats we use wire mesh on the bottom of the fence and barbed wire on the top. All is available in Bunnings.