DFN Modem Installation - Green card
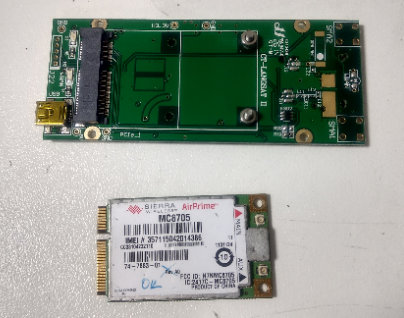
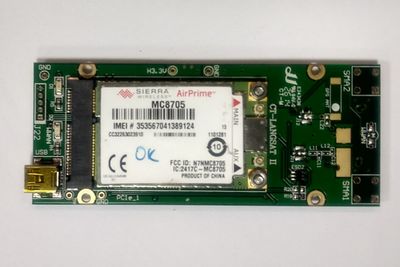
These instructions are for DFN camera systems equipped with green PCB modem adaptor board (see images below). For DFNEXT observatories with blue PCB modem adaptor board please refer to DFNEXT Modem Installation.
The DFNEXT / DFNSMALL observatories usually ship without modems as many of them are deployed with WiFi or Ethernet connectivity and different areas of the world require different modems.
If you wish to network your DFNEXT observatory via mobile broadband instead of WiFi or Ethernet you need to source a modem and request a modem installation care package from DFN Camera Help. You will also need to organize a 2FF ("standard") sized SIM with an active data plan.
The recommended modems are the Sierra Wireless AirPrime MC Series. MC7455 (for the Americas, Europe, the Middle East and Africa) and the MC7430 (for Asia Pacific including Australia). For Australia, MC8705 is suitable as well. It is also a good idea to verify that the selected modem will support the frequencies/bands used by your operator in the area.
Installation Steps
Before modem installation make sure the camera is powered off. If the PCB modem adaptor board is already in the camera (assuming without the modem module), remove the min USB power connector and pull the board out.
Install the modem module into the adaptor board (converter card) and fix it using M2.5 bolt and nuts.
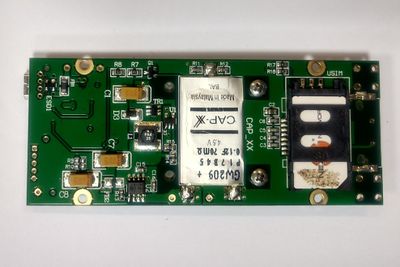
A pair of bolts goes from bottom of the adopter board, fasten the first (bottom) nut or insert spacer on each of them, insert the modem module and fasten the upper nuts.
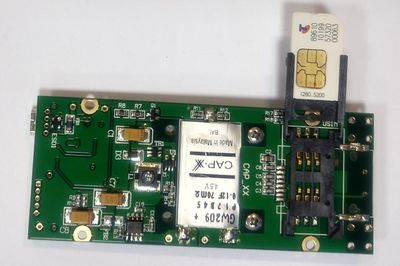
Next step is to insert the SIM card. First open the slot door and slide the SIM card into it.
Then shut the slot door with SIM card and lock it - see arrows on the slot door.
Attach the GSM antenna RF patch cable (pigtail) to the main antenna port on the modem (marked by red arrow) using your fingers or some needle-nose pliers. Ensure the U.FL connector is seated correctly.
Slide the whole modem assembly back to the slot in the DFNEXT observatory box.
Attach the mini USB cable connecting the modem with embedded PC.
Network configuration
Make sure the networking is configured correctly for a specific modem type and operator.
For Sierra MC8705 with Telstra M2M plan is the configuration as shown on a corresponding section of file /etc/network/interfaces.
### Optus/Telstra mobile data GSM/3G/4G USB stick
### with modem/ppp interface
### primary network interface in the field, default route
auto ppp0
allow-hotplug ppp0
iface ppp0 inet wvdial
#provider optus_multitech
#provider optus_sierra_MC8705
#provider telstra_multitech
provider telstra_sierra_MC8705
#provider telstra_sierra_MC7430
Please notice the uncommented line with provider telstra_sierra_MC8705. All lines with "#" at the beginning are comments.
There are a few more configurations pre-set in file /etc/wvdial.conf. The corresponding detailed section for our case looks like:
[Dialer telstra_sierra_MC8705]
Stupid Mode = 1
Init3 = AT+CGDCONT=1,"IP","telstra.m2m"
Modem = /dev/ttyUSB0
Password = guest
Username = guest
Phone = *99#
Please contact your service provider for details like AP name (here "telstra.m2m"), Password, Username and Phone (number) to dial. The "Modem" field is a virtual port - this parameter is specific for a modem type.


