Standalone Fireball Camera Installation
Revision as of 16:35, 2 October 2018 by Robert Howie (talk | contribs)
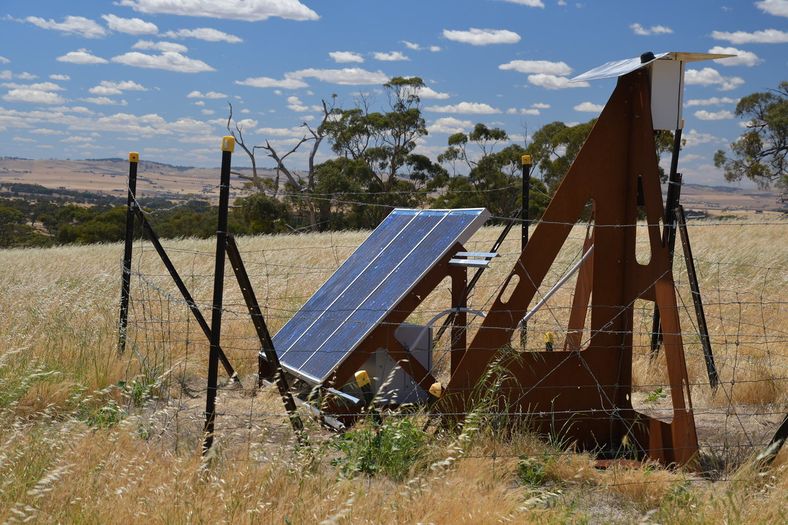
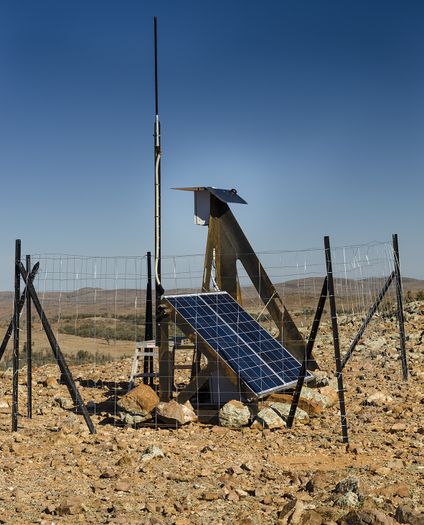
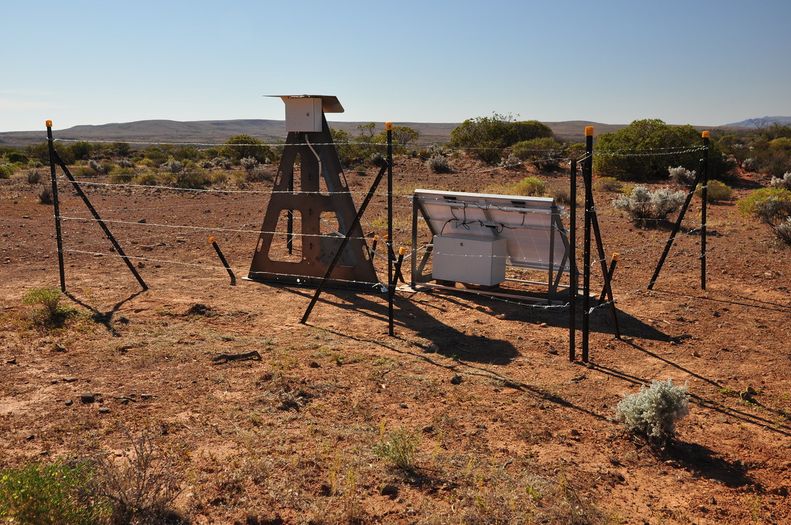
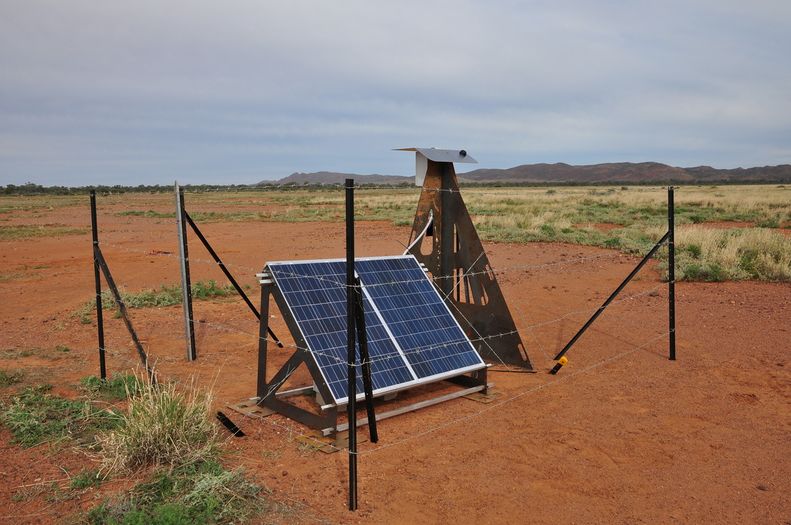
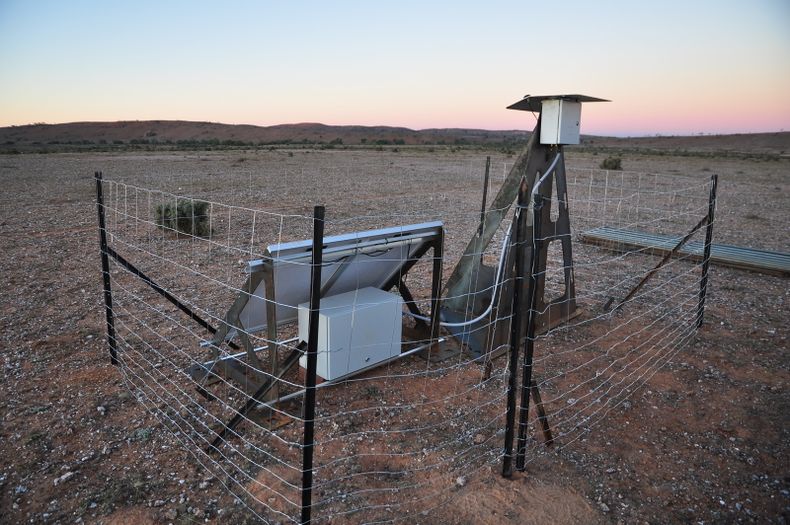
Observatory Stand Assembly
At least two people are recommended for assembling the stand.
- Place stand base on four blocks or bricks ensuring there is clearance for the rib and back's tabs.
- Place stand back on top of base and insert tabs.
- Lean stand back outwards and insert stand rib. You may have to wiggle the pieces until they fall into place.
- Start inserting wedges staring from the corners. Do the top first and then start on the bottom corners. It may be helpful to tilt the stand over a bit or lay it down on its side.
- Once the wedges are are all securely inserted, wire up the four fencing wire cross stays and tension by twisting using a large screwdriver.
- Align stand so stand back is facing south (in the Southern Hemisphere, north in the Northern Hemisphere)
- Stake down the stand in soft soil or weigh down the stand using rocks or sandbags. As the centre of mass is not over the centre in the base, it is not safe to leave the stand without weight or stakes.
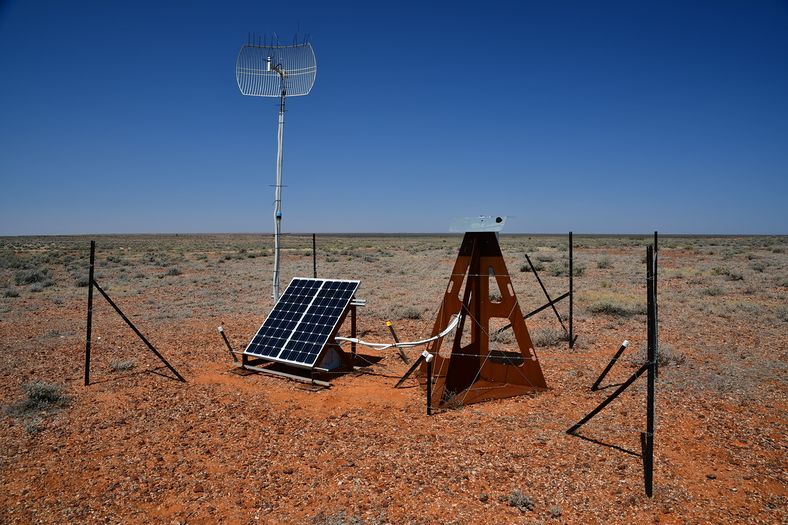
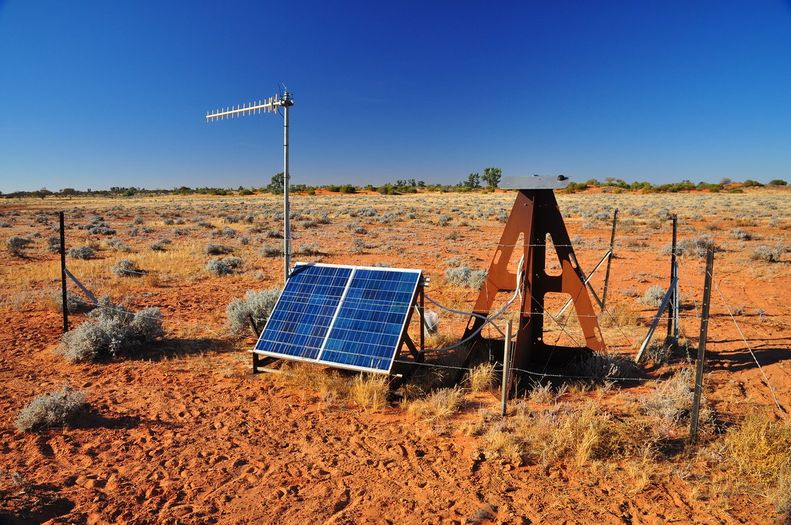
Solar Panel Stand Assembly
- Assemble solar panel stand using aluminium angle bar, wedges, panels and self tapping fasteners (Tek Screws).
- Add sand shoes in soft soil
- Stake or weigh down solar panel stand.
Battery Box
Components
- Enclosure
- Deep cycle battery
Setting up:
orientation
On the Southern hemisphere, the solar panels shall face North, while the observatory box doors shall face south. On the Northern hemisphere it is obviously the other way around.
<pic of whic way should be north>
heat shield
north or south hemisphere
gps
cables and connections
wifi, 3G, ethernet
blah
Example DFN design
System as used by DFN below. you can do other designs, the important criteria for a power system is it must provide <XX> Amp-hours per day, reliably:
stand assembly
<pic>
panels
<pic>
battery box and cabling
<pic>
