AMOS Australia
Revision as of 09:04, 2 April 2025 by Martin Cupak (talk | contribs) (add lame instructions to replace data HDD)
Contents
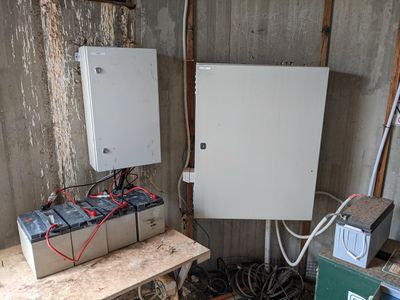
General
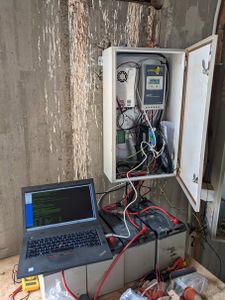
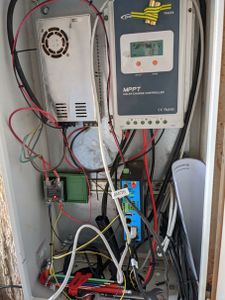
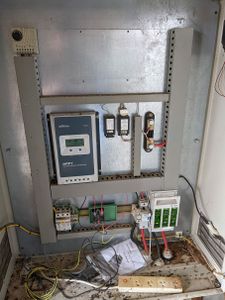
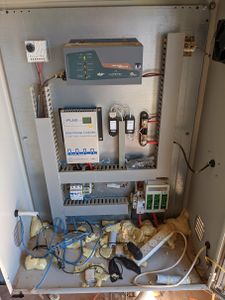
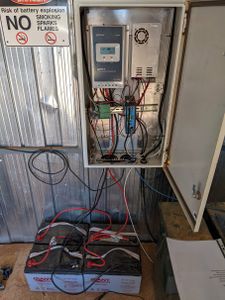
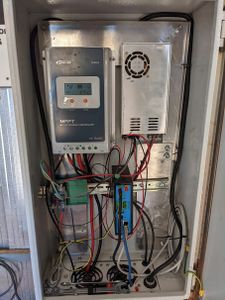
Solar charger controller
user manual: File:Tracer-AN-SMS-EL-V1.0.pdf
datasheet: File:EPEVER-Datasheet Tracer-AN-10A-40A.pdf
DC-DC converter
datasheet: File:SD-350 MEANWELLSD-350DATASHEET.pdf
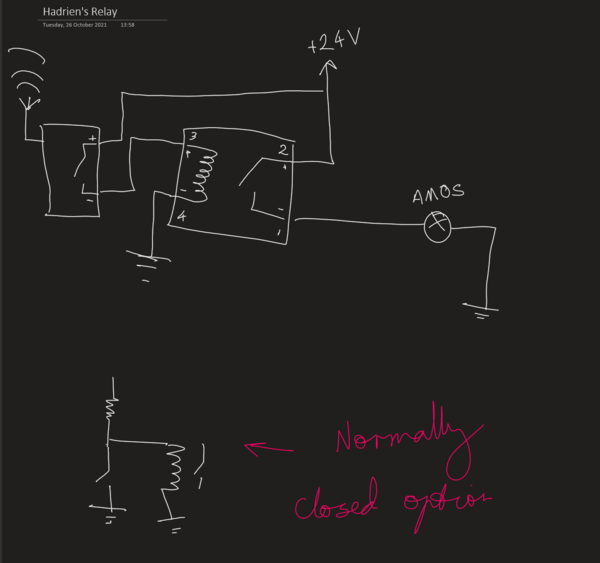
Modem-Router with digital output control (relay)
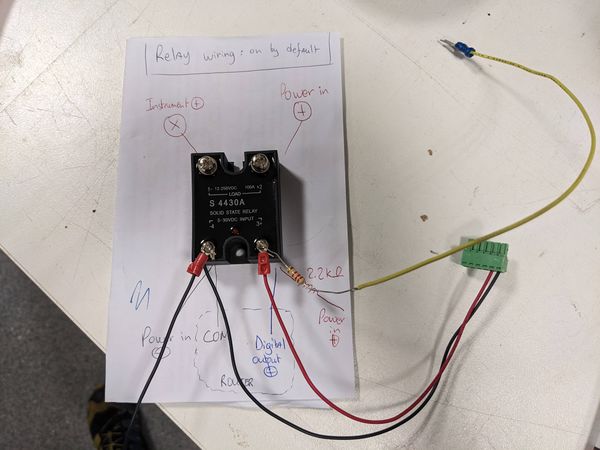
Relay wiring
Relay D0 should be DFN camera.
Relay D1 should be Amos.
New design (on by default).
Use a 2.2kΩ resistor.
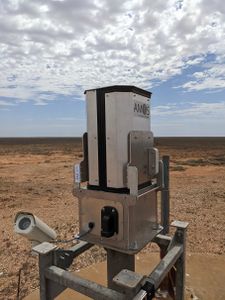
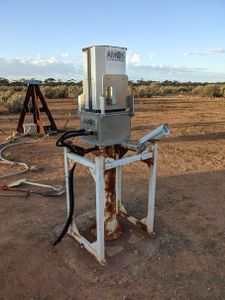
AMOS-Spec for fireballs
Replace HDD
1) Open the side, connect screen and keyboard.
2) Figure out and note the folder structure on the data HDD and how/where it is attached to the filesystem, to be able to replicate that with the new drive.
3) Shutdown the system and replace HDD.
4) Replace the HDD physically, labell the old drive, format the new one if necessary, create the corresponding folders.
5) Let the Slovak colleagues know, to verify all works well.
Forrest
