Difference between revisions of "Using the GUI for Regular Maintenance"
Martin Cupak (talk | contribs) m (formatting) |
Martin Cupak (talk | contribs) m (create headers that appear in TOC - eg for reboot) |
||
| Line 2: | Line 2: | ||
== The basics == | == The basics == | ||
| − | + | === Getting system status === | |
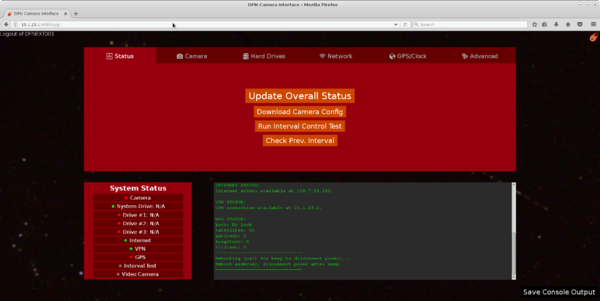
[[File:GUI classic Status Sceen.png|none|thumb|GUI Status Screen|600x600px]] | [[File:GUI classic Status Sceen.png|none|thumb|GUI Status Screen|600x600px]] | ||
| − | Rebooting the system - always do this and then wait for a beep sound before unplugging/switching off the power to the box! Otherwise a filesystem corruption may occur! (Alternatively, text console command 'poweroff' or 'reboot' will do the same.) | + | === Rebooting the system === |
| + | - always do this and then wait for a beep sound before unplugging/switching off the power to the box! Otherwise a filesystem corruption may occur! (Alternatively, text console command 'poweroff' or 'reboot' will do the same.) | ||
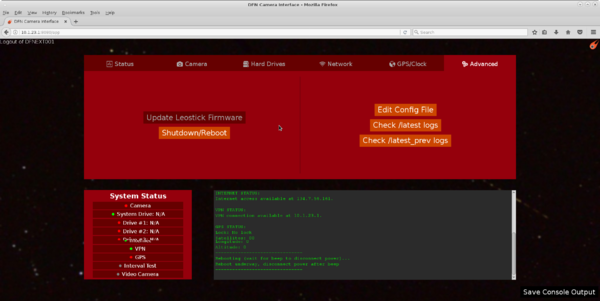
[[File:Classic GUI Advanced Tab.png|none|thumb|GUI advanced tab, showing reboot button|600x600px]] | [[File:Classic GUI Advanced Tab.png|none|thumb|GUI advanced tab, showing reboot button|600x600px]] | ||
== Setting up a new system == | == Setting up a new system == | ||
Revision as of 02:48, 11 May 2021
The web-based Graphical User Interface (GUI) can be accessed using these instructions: Web Interface
Contents
The basics
Getting system status
Rebooting the system
- always do this and then wait for a beep sound before unplugging/switching off the power to the box! Otherwise a filesystem corruption may occur! (Alternatively, text console command 'poweroff' or 'reboot' will do the same.)
Setting up a new system
editing config file
use the edit config file button from the advanced tab. you can change a property, then save the file. The dialogue box does not support multiple changes in memory before saving, so change one property, save/close, then press edit config again to change another property.
For a new system, the minimum you should set
- correct latitude/longitude/altitude. these are used as fall back values in case the GPS fails.
- location
- tbd
Other useful values you might want to set:
- tbd
Set the time zone
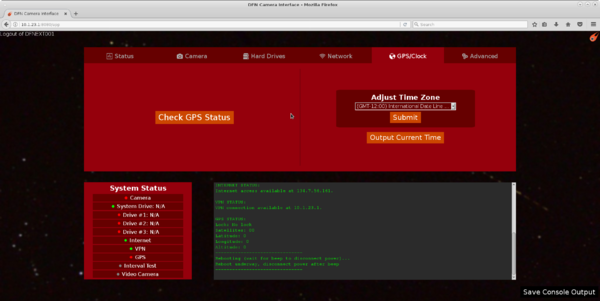
From the GPS/clock tab. choose your local time zone from the drop down dialogue, and confirm.
formatting drives
NOTE: This is not currently working in the GUI unfortunately; you have to use the command line, through a terminal. But it should not be needed for setting up a new system.
Interval control test
Button on the Status tab.
This tests the camera by simulating a 'night' of observations, but starting in 2min time, then lasting about 10min. the system will power on, and take about 5-8 pictures, and then power off the camera.
you can check the results in the text box, or by looking at the /data0/latest_prev folder using a terminal or Advanced tab, "check /latest_prev logs" button, to review the logs to see if things worked ok.
note: if there are a lot of pictures on the DSLR that have not been downloaded, then interval test may take a while to run, as it will download all from the DSLR memory card onto the local disk....
Check the network status
The Camera will record images without netowkr, but you will get no reports about fireballs. So if realt time event reporting is needed the ntwrok should be checked:
data flow:camera -> modem -> internet -> VPN -> server
If VPN is OK, then modem and internet are also OK.
If internet is OK, then modem is OK
VPN might take a couple of minutes to start after system boot up.
Accessing data from earlier observations
for last night
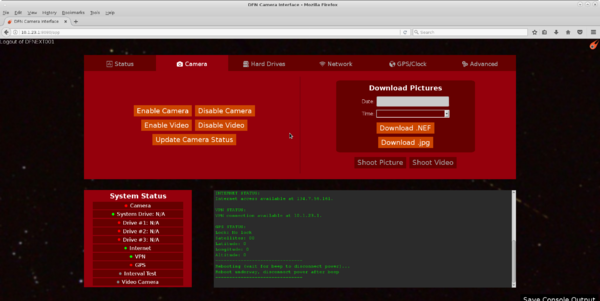
Camera tab, "download Pictures" section, and use calendar box to choose a date. a list of picture times will then be available in the drop down box below.
Select the image time wanted an use Download button. Download picture as jpg (if present), about 5MB. or NEF for full resolution, about 50MB.
for earlier nights
use hard drives tab, to power on drives,
then mount drives
then go to camera tab, download, pictures, pick date
when finished, power off drives. (Dismount will be done automatically)
Don't leave the drives on! The extra power will heat the box, which may be an issue in hot climates and overheat the drives. Also, some power supplies will not support drives on and DSLR on simultaneously, so there might be problems the next night when observations fail. Also, if the system is on solar panels/battery, there may not be enough capacity to power the drives for 24hr/day.
Checking Hardware
Power on/off DSLR camera
Power on or off will take a few seconds. This function can help to diagnose whether the DSLR is connected to the embedded PC.
Video camera on/off
use the button to turn on/off, and then use the check status button to confirm.
NOTE: video camera status is currently not updated correctly.
GPS status
See the GPS/Clock tab, and the "Check GPS" button
Network status
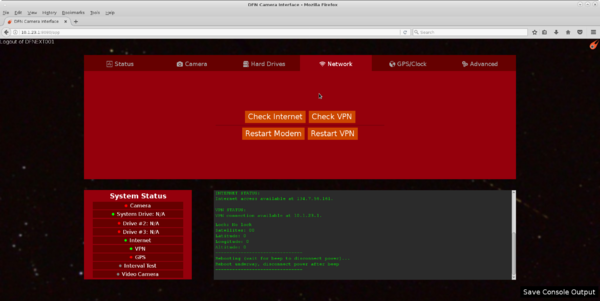
See the network tab, and description above in 'Check the network status'.
